
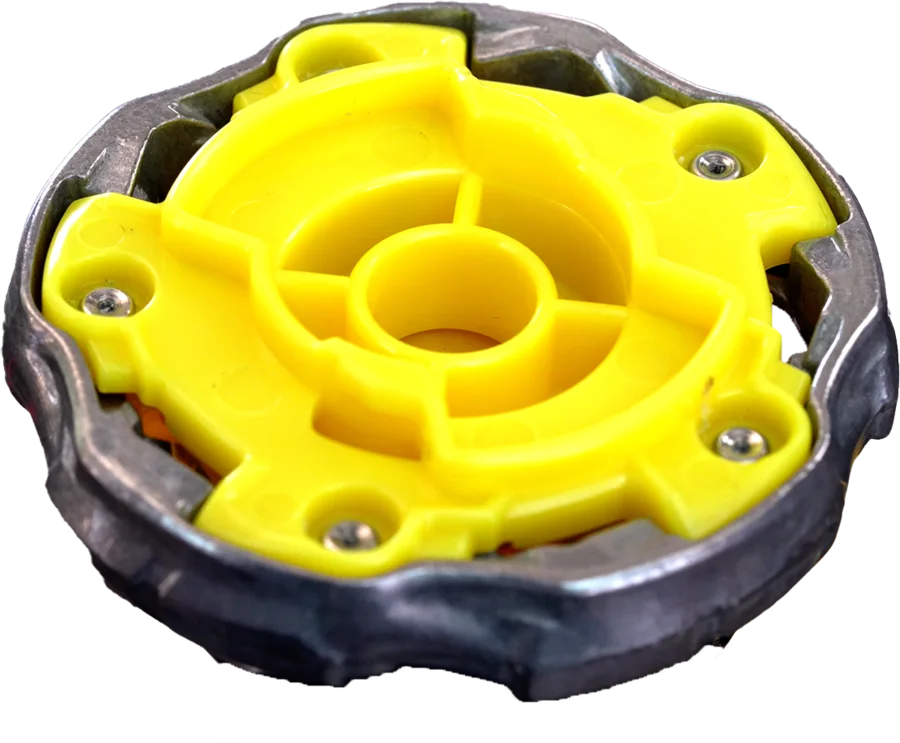

WizardRod

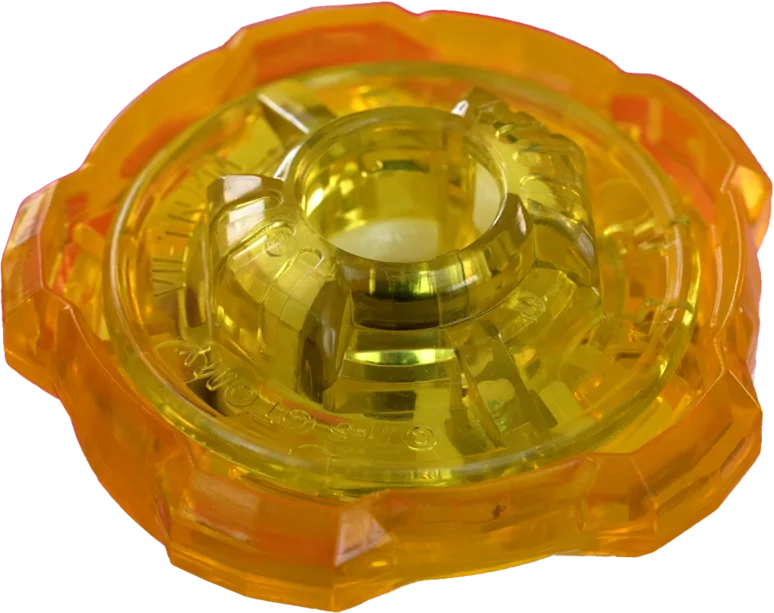
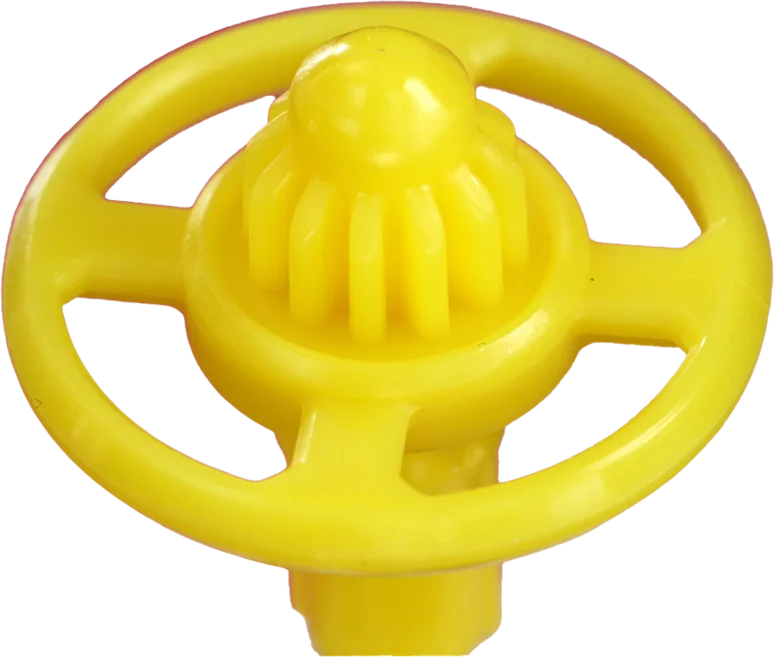
00WizardRod summary
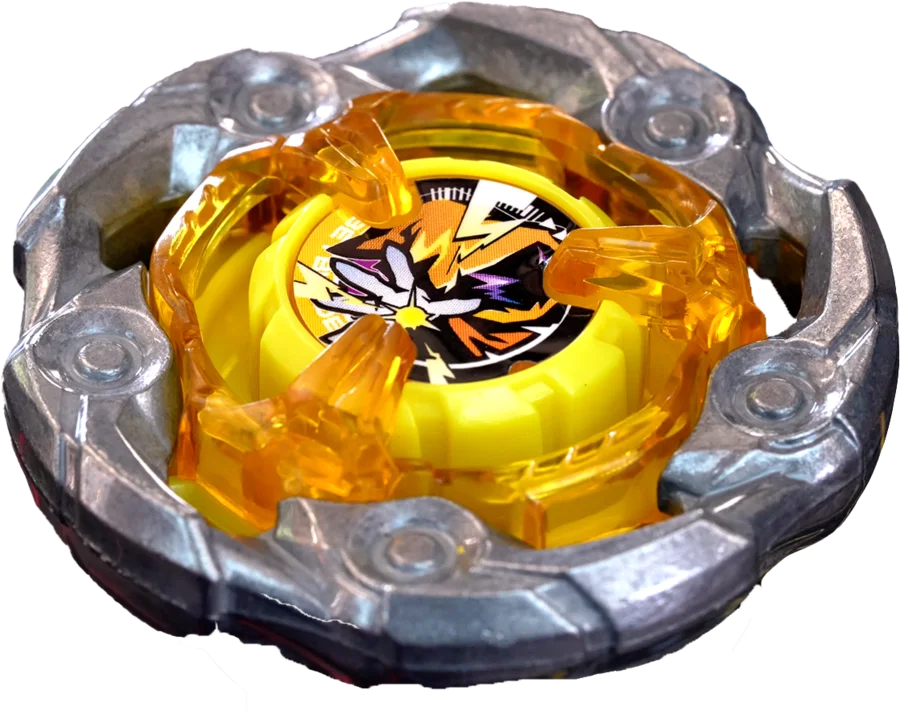
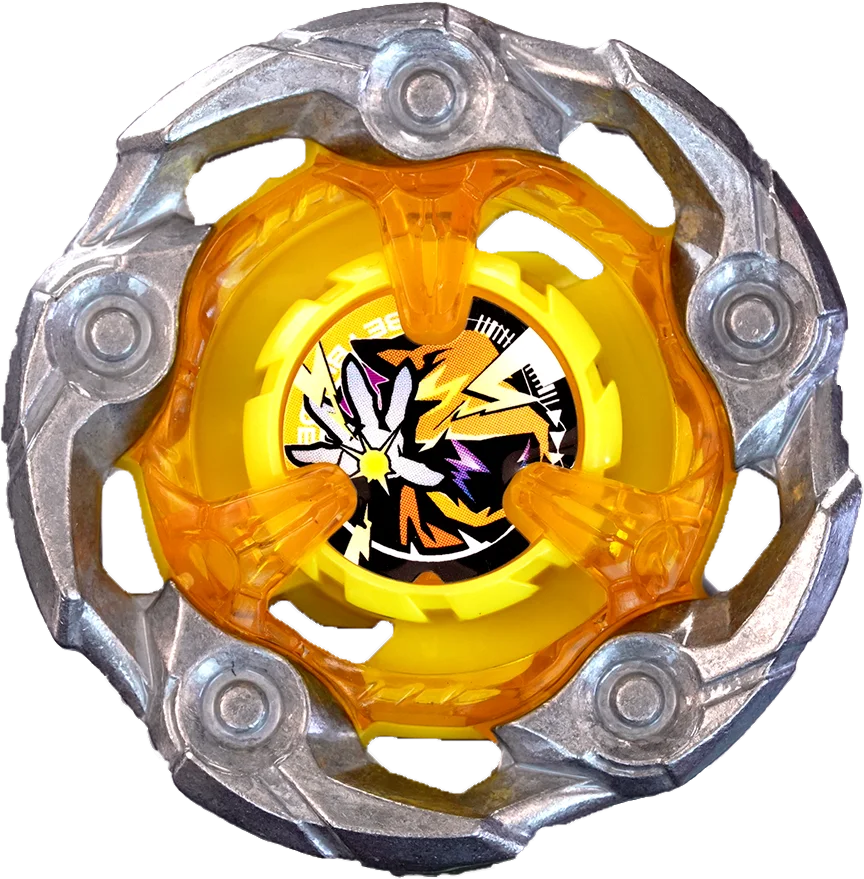
Wand Wizard (WizardRod by Takara Tomy) is a 35.2 g UX Blade, released in Japan on March 30, 2024.
WizardRod is a design masterpiece. In past generations, a Bey with this level of balance would have broken the game, but in Beyblade X it manages to stay at a sweet spot between power and excitement. Its performance is so consistent it almost feels like magic: any player can win with it, but only the most skilled will fully exploit every nuance of its balance. And even with ClockMirage now released, the wizard stays at the top thanks to its incredible versatility, proving it does not need tricks… only mastery.
01Mythology
Inspired by a wizard and his staff, a tool used since ancient times to channel spiritual power and represent the connection between the human and the divine.
02Description
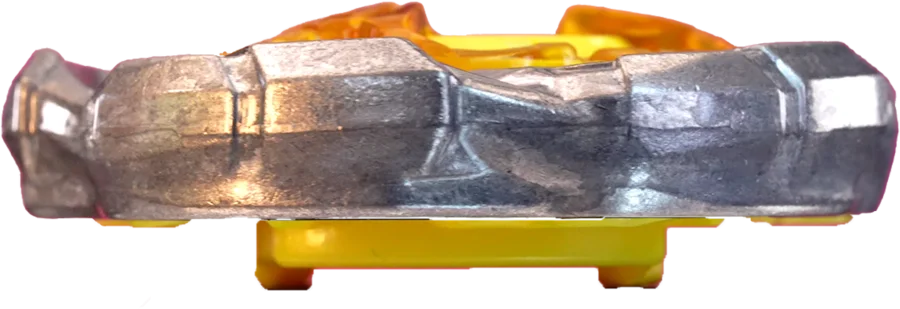
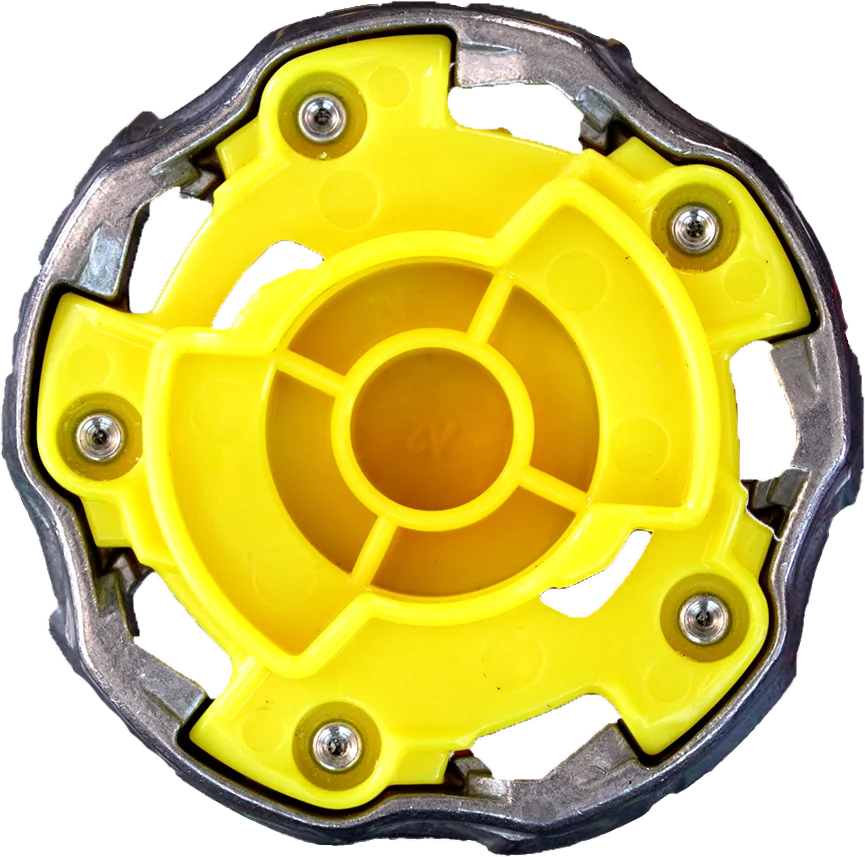
It is a wide, mostly round Bey, with five slightly angled divisions that represent the head of the staff. Each one forms a small hook on the lower side and subtle irregularities on the upper side, while the outer contour is almost completely smoothed. It has five central gaps and, being UX, concentrates all the metal toward the extremes. Its thin, aerodynamic design gives it the second-best stamina of the entire generation (only recently surpassed by ClockMirage). It has medium-high weight and outstanding balance.
03Performance
Its weight distribution, stability, aerodynamics, and size make it one of the most versatile and complete Blades ever created. Its smooth shape and high inertia allow it to absorb hits with ease, preserving its energy incredibly well. When tilted, it can act like a ramp that sends opponents flying, taking advantage of its upper curves. It also excels at evasive defense, moving around the stadium and making enemy attacks harder to land. Despite its passive look, it can attack with great effectiveness: its lower hooks and size allow it to push, lift, or crush depending on the situation. It has no sharp edges, but its mass and control handle everything. Even in fairly random setups, it has shown impressive performance, no matter how you build it, it always performs well. In any playstyle it delivers results, there is no losing option, so give yourself the chance to experiment and have fun in the process. It is worth noting that the Ratchet 1 fits it perfectly: it improves overall balance and stamina, while also creating rebounds that can bring it back into the stadium after falling into pockets. The most common Bits used on it are Ball and Hexa: the first maximizes stamina but is more vulnerable to knockouts, while the second offers better defense and counterattacks. When they face each other, Ball usually has the edge, but overall combo balance is what decides the winner. On top of that, its hooks hide critical impact potential capable of completely changing a match, keeping the tension alive. Yes, between two stamina Beys battles can get slow, but Rod always finds a way to add an unexpected moment. Its size makes it easy to hit: a precise strike from a heavy or highly aggressive Bey can knock it out of the stadium. The Ratchet 1 technique is very effective but also risky, if the opponent hits that zone, the energy loss is massive. Rail contact can also become a weak point, something Barrage Attack types can exploit to beat it. Its main counters are Dragoon with Elevate and the previously mentioned ClockMirage, the first beats it in equalization and the second in spin time.
04Ways to use it
On aggressive Bits with good stamina (like Rush) and mid heights, it can move with control, dodge, and attack effectively by lifting, pushing, or crushing.
On stationary Bits and low heights, tilt it to deflect hits with precision.
Look for the pendulum effect that sends it back to the center with force, ideal for launching opponents.
In heavy, stable setups, it can tank repeated hits without giving up ground.
05Base combo
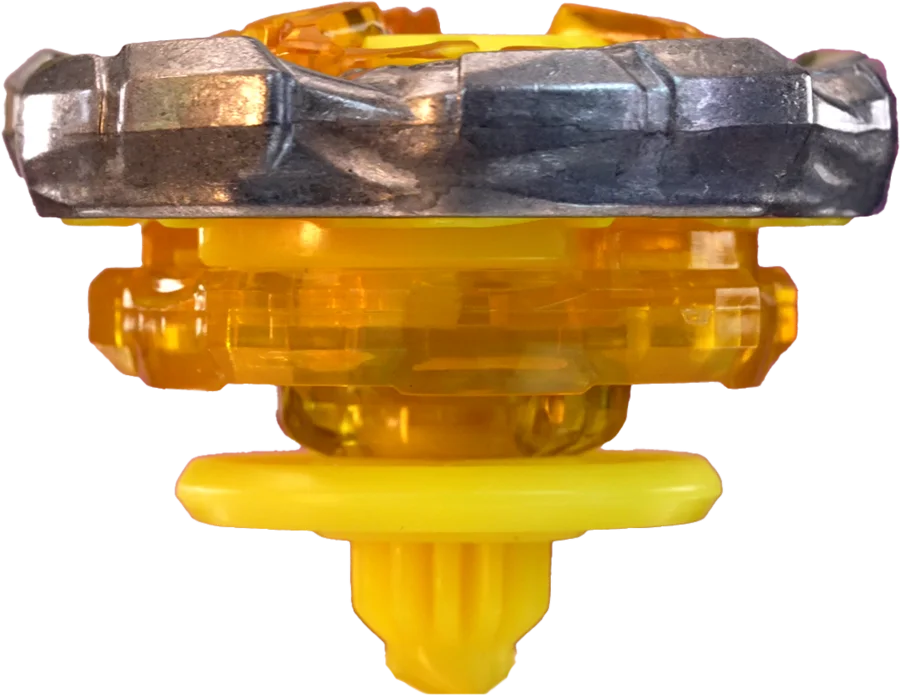
A decent combo, since 5-70 balances it well, but the Bit is unstable and the excessive height makes it easy to knock out. It does not show its true potential, although it still delivers solid results. Interestingly, the green version (1-60R) is much more sought after for combining excellent parts and strong out-of-the-box performance.
06Combos
The definitive combo — defense, stamina, and counterattacks in an almost perfect balance. It dominated the world championship for a reason.
Higher stamina and less loss from scraping; still a highly competitive option.
Surprisingly functional: it bounces, crushes, and creates controlled chaos.
More focused on shield defense; extremely hard to move.
Strong pushing power using its size and friction, ideal for impact-based attacks.
Stable, unpredictable, and packed with fast counterattacks.
Risky, but it shows Rod’s incredible adaptability.
These combos show its versatility, it is amazing what it can do.
 Why does it work this way?
Blader's Path explains it step by step: Bey physics, how to build combos and how to test them.
See the book
07Where to get it
Show products 7
Takara Tomy 5
- BX-35 Random Booster Vol. 4 · WizardRod 1-60R #04
- UX-03 WizardRod 5-70DB
- UX-04 Battle Entry Set U · WizardRod 5-70DB Special Ver.
- UX-00 WizardRod Metal Coat: Gold
- CX-20 Customize Set C Azul
Hasbro 2
- G1537 Wand Wizard 5-70DB
- G1538 Wand Wizard 1-60R