

WizardArc

00WizardArc summary
Arc Wizard (WizardArc by Takara Tomy) is a 35.6 g CX Blade, released in Japan on March 29, 2025.
WizardArc was a pleasant surprise. Heavy and Wheel have unlocked the potential of Main Blades that once seemed doomed, and Arc is one of the best examples of that.
With the right parts, it can unleash a versatile playstyle capable of defending, pushing, and counterattacking with real finesse, almost feeling like magic when you finally see it go toe-to-toe with top competitive Beys.
That said, without access to those key parts, there is not much you can do with it. But if you find the right balance, WizardArc can become a super fun and competitive Bey, and a real ace up your sleeve to surprise your opponent.
01Mythology
WizardArc is inspired by the figure of the wizard, a recurring archetype across many cultures that represents mastery of hidden knowledge, control over unseen forces, and the use of intelligence over brute strength.
02Description
This review covers the part Arc
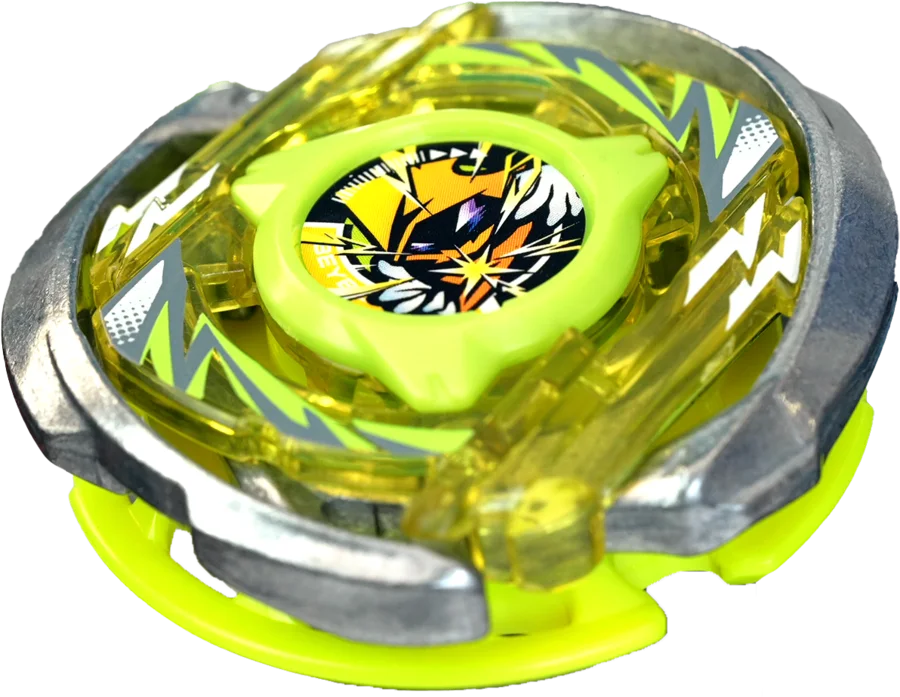
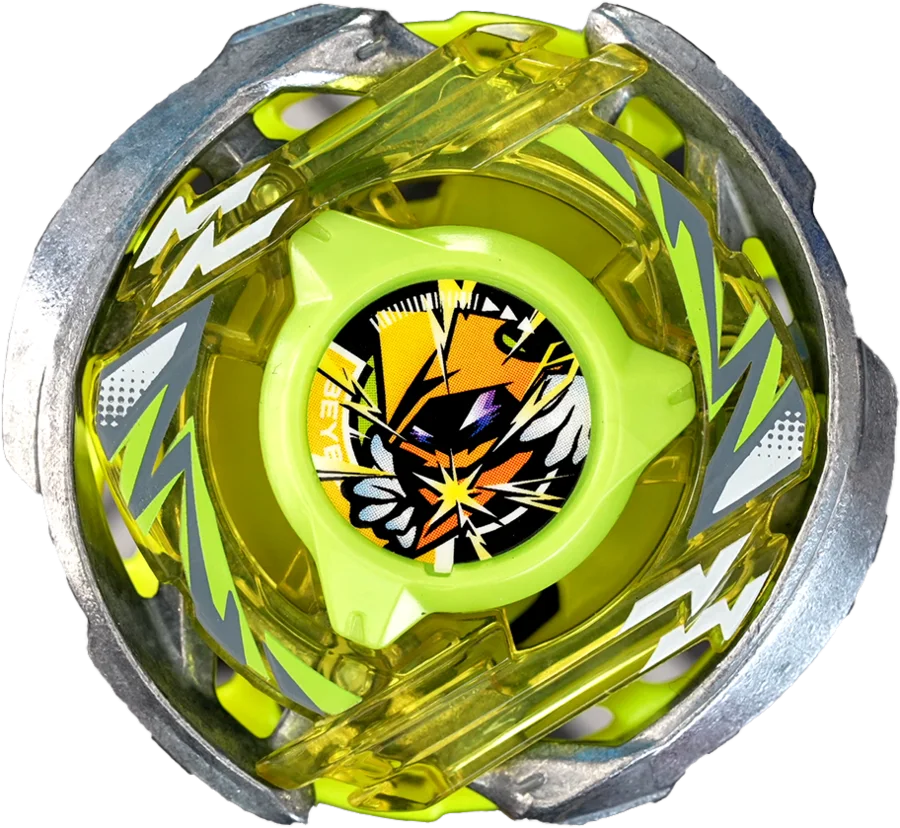
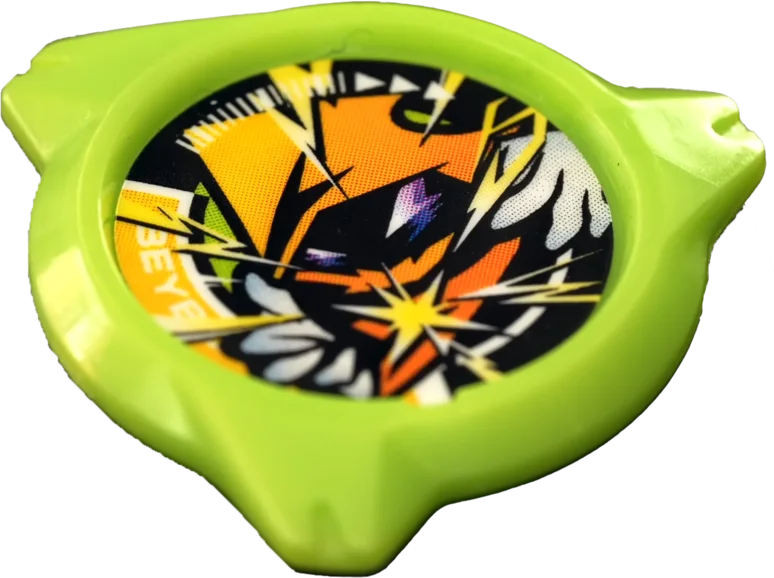
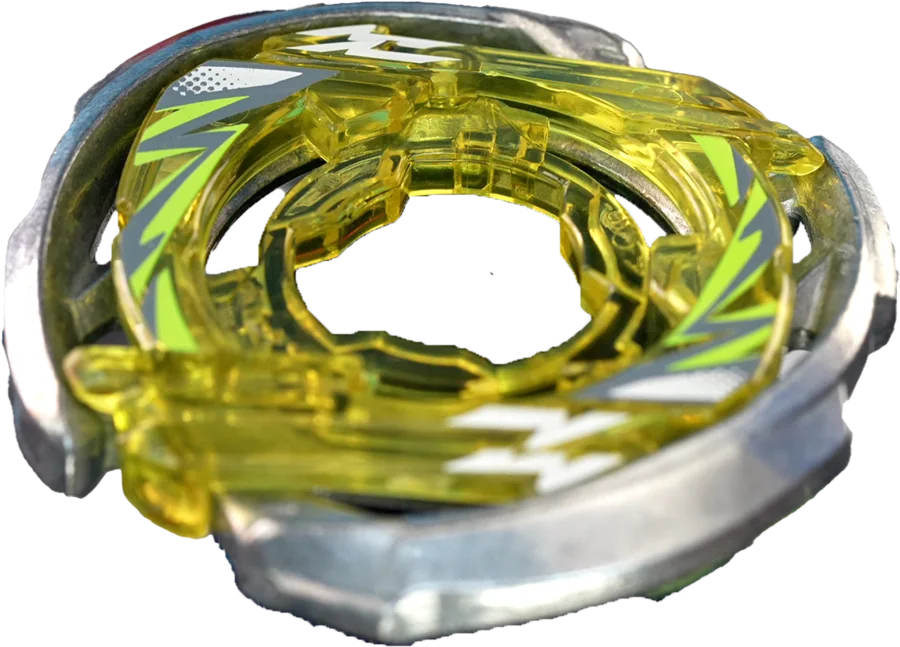
WizardArc is split into two long metallic arc-shaped segments. From the front, they clearly resemble the weapon itself: two bows, complemented by the four arrows in the plastic design, reinforcing the archer/wizard theme.
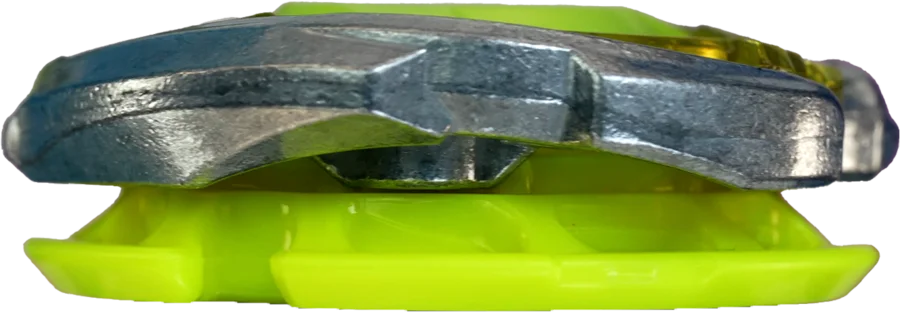
From the side view, the divisions form a curve that creates the geometric shape of a thin, elongated arc, once again reinforcing its name, “Arc”.
The start of each arc features a pronounced hook shape that acts as its main offensive contact point.
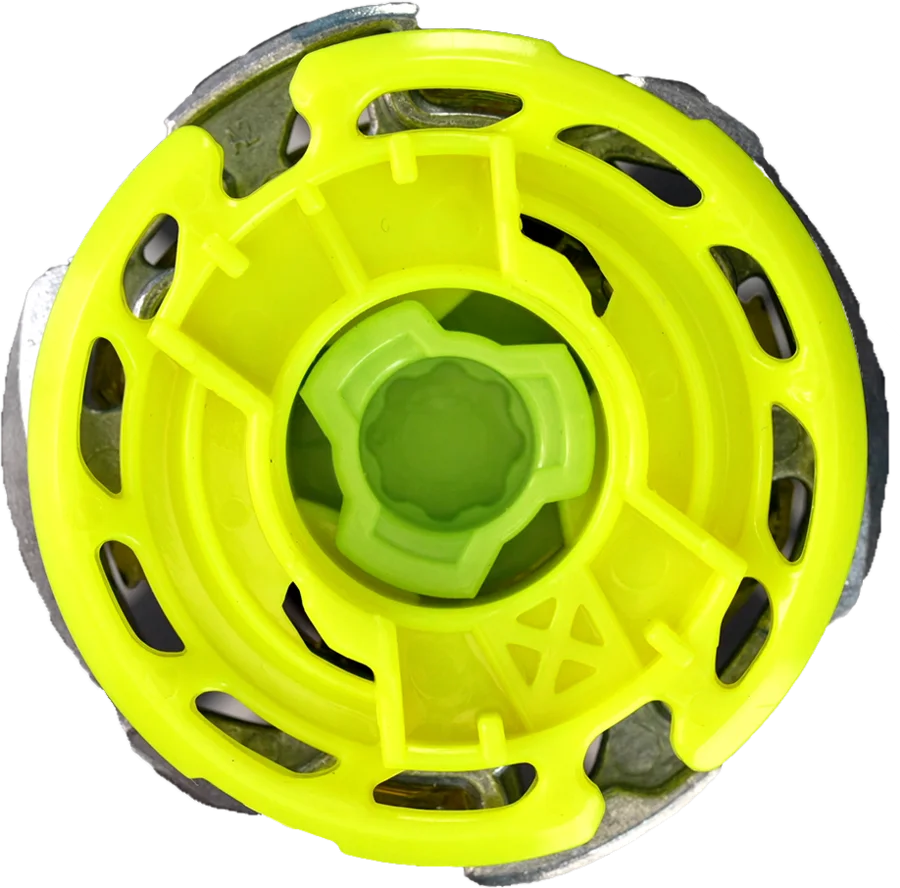
Underneath, the metal has multiple cutouts, aiming to shift weight toward the ends to boost stamina. However, these cutouts are not symmetrically balanced, causing a weight imbalance that can make it unstable if not properly aligned. Even so, with good part alignment, its spin time reaches the average level of BX/UX, which is impressive for such a light CX.
03Performance
This review covers the part Arc
WizardArc is way more versatile than it looks at first glance. Its metallic arc creates a long, smooth slope that works together with the plastic’s tilt, forming a very rounded and softened upper section.
This gives it low recoil, allowing it to absorb hits extremely well. Combined with its thin shape and tilt, it can destabilize opponents when hitting from below, clearly deflecting and throwing off their movement, especially against aggressive and erratic Beys. This gives it solid defensive traits.
While its stamina is not amazing, the low recoil helps it preserve spin fairly well during battle. Only a direct hit to the hook from a heavier and more aggressive opponent can deal serious damage, but that scenario is not very common, and when it happens, both Beys usually take a big hit.
That front hook has notable pushing power, especially when paired with Assist Blades like Heavy, where the metal lines up perfectly and maximizes impact strength. This lets it push with good consistency while keeping decent stamina for its weight.
As a bonus, it also works surprisingly well in counter-defense. Since it is easy to push, it can use incoming hits to bounce back and return with more force, or get launched away to evade attacks, breaking the opponent’s offensive rhythm.
Still, its biggest weakness is its light weight. Combined with the structural downsides of the CX line, it is very easy to push and knock out. However, when supported by Heavy or Wheel, it can reach enough consistency to trouble aggressive Beys, and even have chances against stationary types thanks to its pushing ability and the thin hook that can reach Ratchets for burst attempts.
Another thing to keep in mind is balance. In my personal experience, it did not present major issues, especially when using Heavy, which makes it fairly stable. That said, I have seen other Arc copies struggle to achieve the same balance. Because of this, finding the best possible alignment is key to unlocking its stamina and preventing imbalance from ruining its performance.
WizardArc would have shined much more if it were not held back by the inherent height of the CX system. Even so, with Ratchets and Bits that lower and stabilize it, it achieves a great balance between aggression and defense.
04Ways to use it
This review covers the part Arc
In low, stationary, and heavy combos, with tips that offer strong traction and tilt. It can wait for the opponent’s attacks and reflect them using its upper slope.
In low combos with aggressive tips that still have good traction. It does not need extreme speed, benefiting more from controlled and precise movement. Rush and Low Rush work great by offering push, control, and stamina.
In low combos with small tips. It defends using its upper section and, if pushed, can bounce back and return the impact with its front hooks.
On tips with good stamina and moderate movement. It can alternate between tilting to deflect attacks, hiding on the rail, baiting the opponent, or going straight for the push, fully exploiting its versatility.
05Base combo
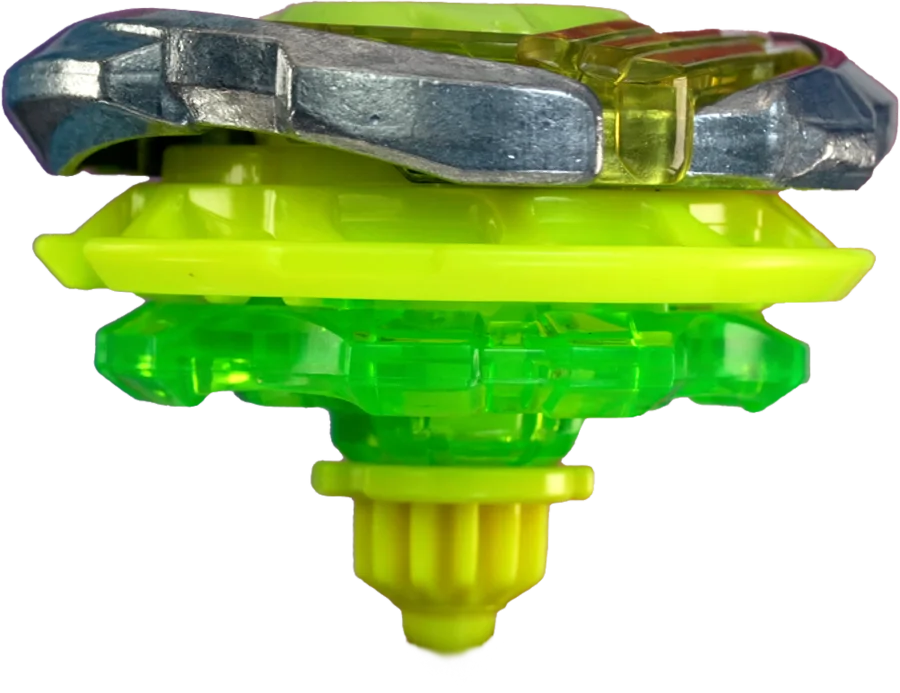
The idea is solid: lowering the center of gravity with Round and Low Orb. The problem is that Round scrapes the floor easily and does not offer good stamina, while 4-55 is also prone to scraping, even more so with Low’s reduced height. This prevents proper tilting and limits its defense. On top of that, this Ratchet is very light, weakening its pushing power. Basically, it does not allow Arc to truly show its strengths.
06Combos
Pure defensive combo. Excellent at repelling attacks thanks to its low recoil, as long as it avoids the stadium edges and achieves a strong initial tilt. Even so, the knockout risk is still there, and good balance is required to maximize stamina.
Aggressive combo, very effective at pushing opponents. Thanks to LR’s initial tilt, it can reflect the opponent’s momentum and then go on the offensive.
Counter-defense combo. The 1 helps it bounce and escape stadium pockets, reducing knockout risks. It produces solid rebounds and keeps the setup fairly compact for a CX.
Aggressive and evasive defense. Wheel maintains pushing power despite the height, while Level offers great movement versatility. It can evade, attack, or switch between both styles depending on the situation. The knockout risk is still present, but it reaches impressive consistency.
 Why does it work this way?
Blader's Path explains it step by step: Bey physics, how to build combos and how to test them.
See the book
07Where to get it
Show products 3
Takara Tomy 2
- CX-02 WizardArc R4-55LO
- CX-00 WizardArc R4-55LO Metal Coat: Black
Hasbro 1
- G1679 Arc Wizard R 4-55LO