

PhoenixFlare

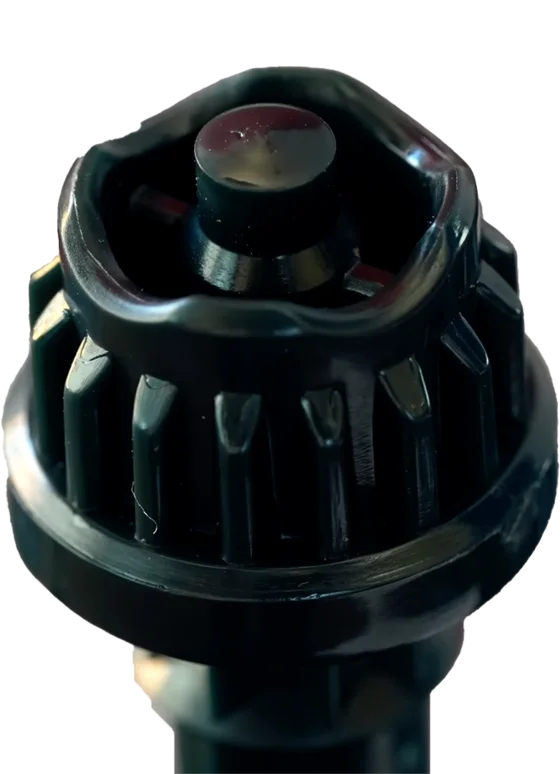
00PhoenixFlare summary
Radiance Phoenix (PhoenixFlare by Takara Tomy) is a 39.6 g CX Blade, released in Japan on January 24, 2026.
Without a doubt, PhoenixWing remains the most versatile and surprising of its archetype, but PhoenixFlare isn’t far behind. It may not be the most explosive or flashy, but it stands out for its consistency, which is something worth recognizing and appreciating in a CX. This pairs nicely with the balance between elegance and strength, making it a great addition to Customs, both because of Flare and Zillion.
01Mythology
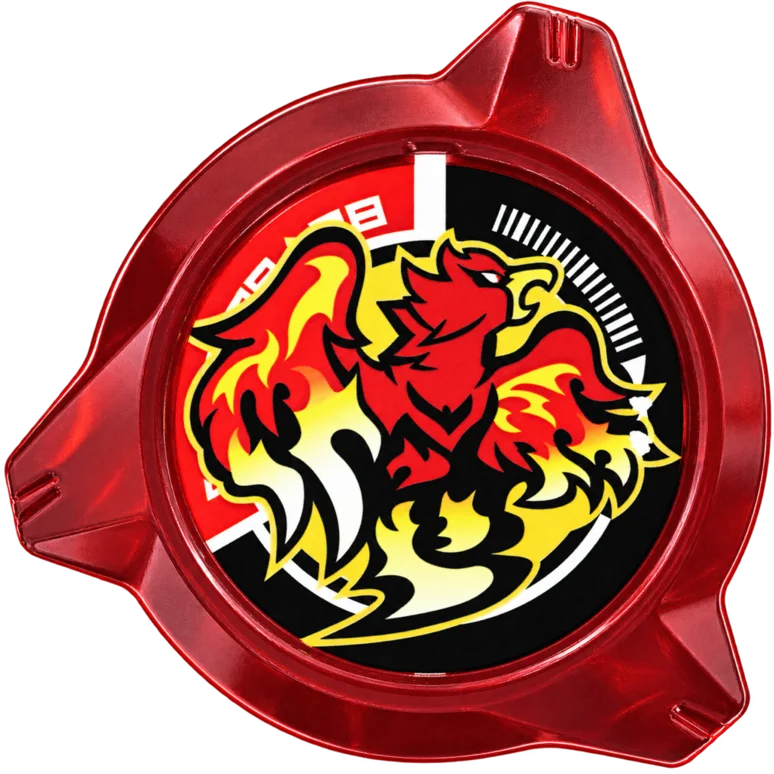
PhoenixFlare is inspired by the Phoenix bird. It is said to be capable of controlling and generating fire, using its flames as wings or claws. In some stories it even has healing powers, always portrayed as a cosmic, almost divine being.
02Description
This review covers the part Flare
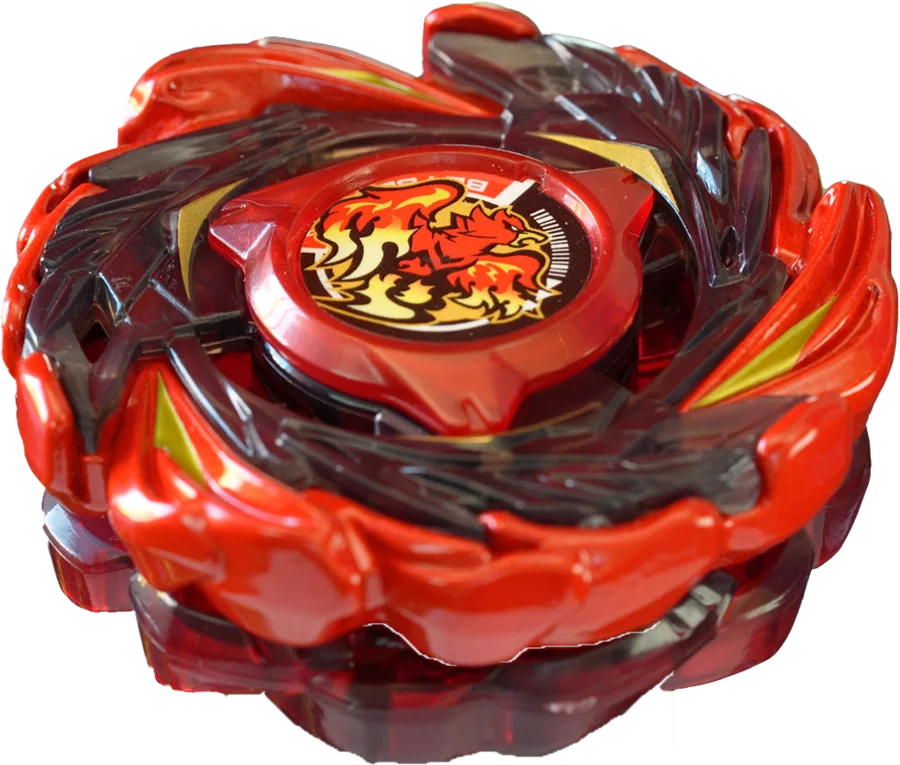
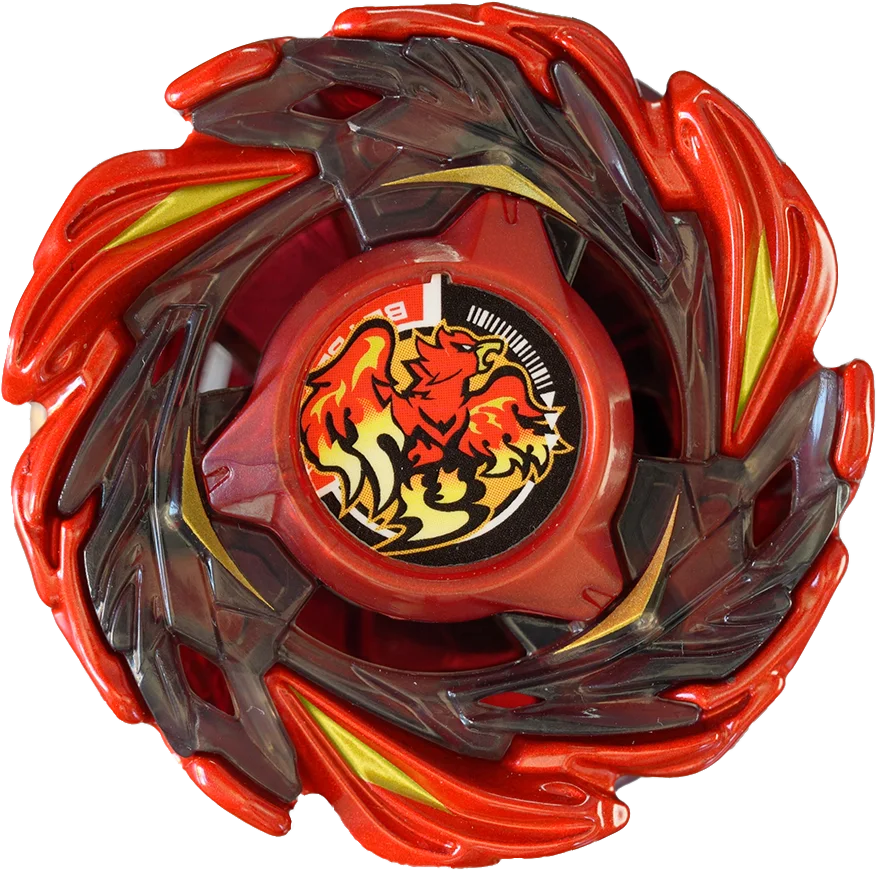
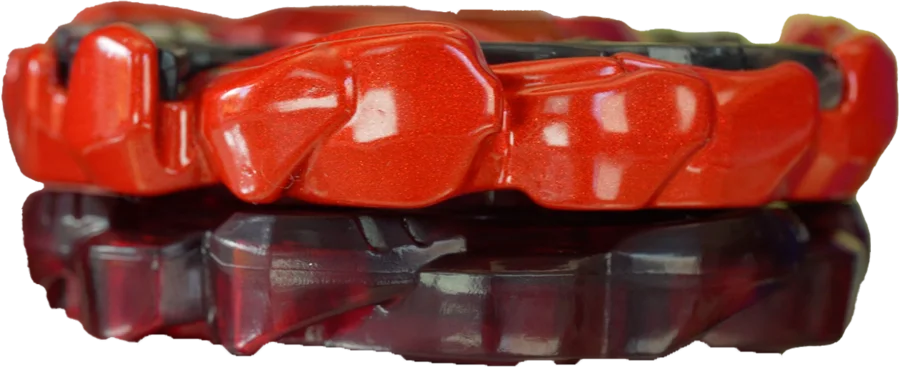
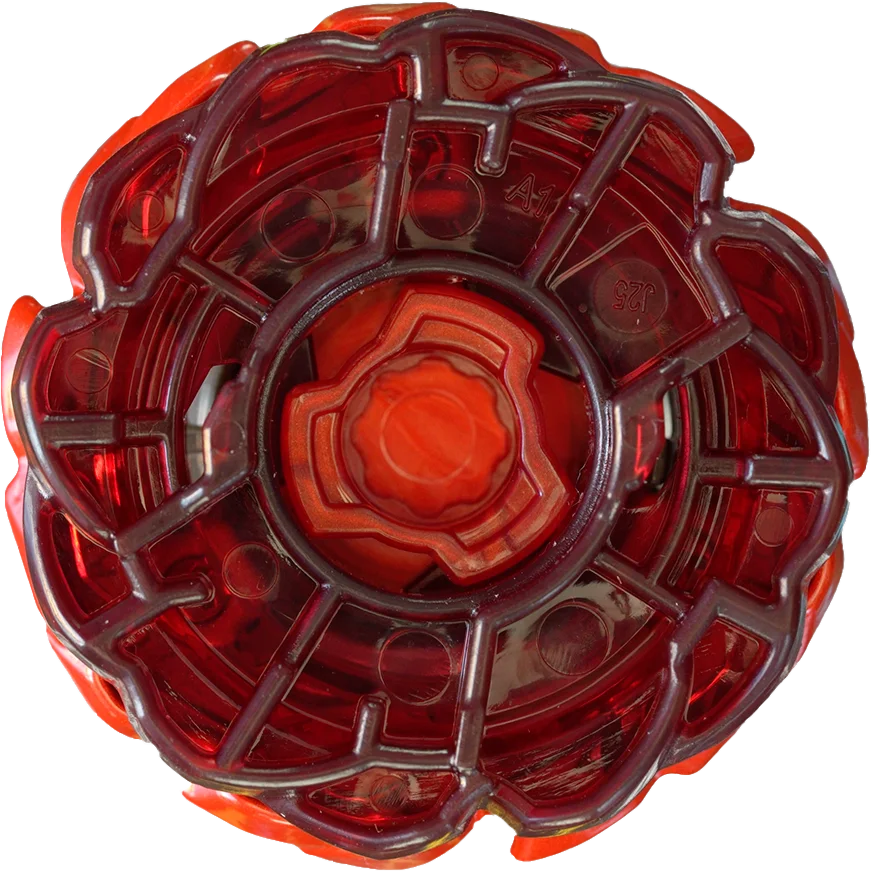
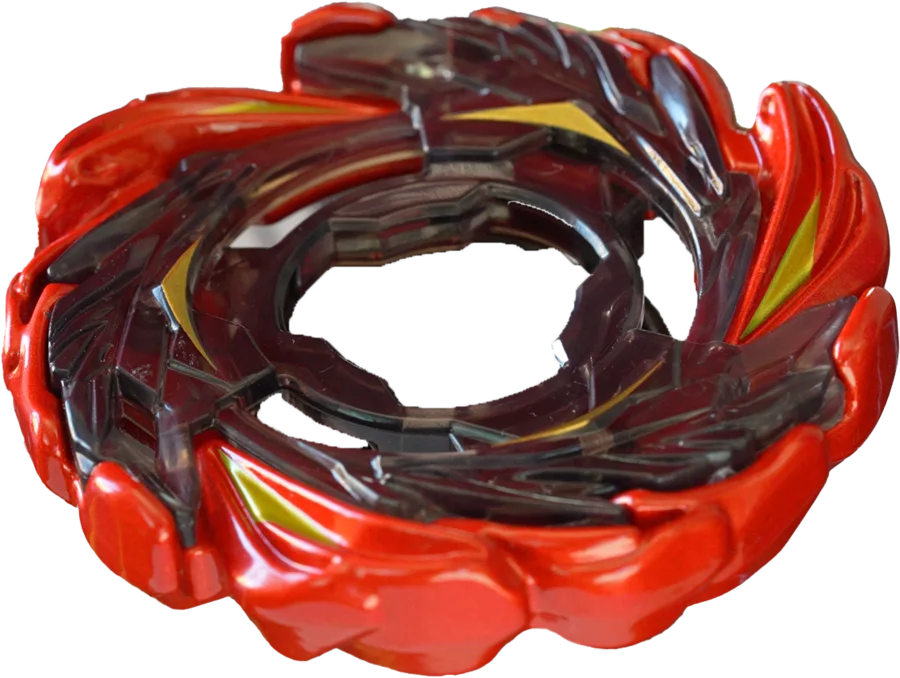
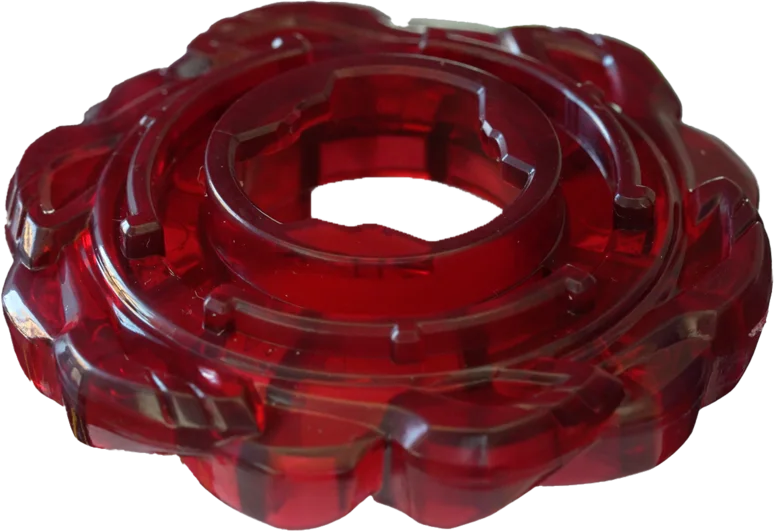
PhoenixFlare is made up of six main sections: three long wings covered in black plastic and three shorter ones with an upward incline. Together, its raised details simulate a total of 15 feathers. At first glance it looks almost perfectly circular, but in reality the long wings are mostly straight, almost like small walls. The shorter ones, while smooth along the edges, slightly protrude at the front, forming a hook. On the top, you can also see the three angled tips of the small wings. All of this gives it a decent aggressive potential. Viewed from underneath, most of its weight is concentrated on the upper central disk, leaving fairly thin edges, which raises its center of gravity.
03Performance
This review covers the part Flare
In theory, PhoenixFlare aims to take advantage of its feather-like ridges to wear down the opponent with constant Barrage attacks. The issue is that these ridges are so subtle that the effect is minimal and not very effective. However, its true strength lies in pushing with great consistency. This comes from the straight shape of the long wings and the front hook of the short ones, which extend through almost the entire thickness. Because of this, it doesn’t rely on a super specific height or contact point to land solid hits, allowing it to connect evenly across its whole perimeter. The hits may not look flashy, but they are surprisingly reliable. Another strong point is that it doesn’t favor left-spin equalization, since its “walls” generate translational push rather than rotational force. Its rear spikes also absorb a lot of energy when struck, making it a decent counter against them. On top of that, it offers respectable defense thanks to its low-recoil disk shape, which helps absorb and reflect hits effectively, especially against aggressive Beys. That said, you’ll need to compensate for its high center of gravity with low-height combos to reduce its high risk of getting knocked out. In this area, Might, Blast, and even Reaper stand out more, especially the first two due to their higher weight and better spin time. While its stamina is decent for a CX, it still falls short compared to stamina-focused options like WizardRod or ClockMirage. Leaving it fully stationary wastes its aggressive potential and limits its versatility a lot. Because of this, it’s much better to keep it moving, from super aggressive setups to calmer but constant ones. This gives it the ability to attack, dodge, and defend as needed. Unlike other CX Blades that need very specific heights or angles to work, Flare can push and deflect hits with its entire side and even its top. This makes it one of the most consistent and easiest CX Blades to use. It’s quite similar to Might, but Flare leans more toward aggression, while Might focuses more on defense and stamina. Its main weakness remains the high center of gravity, which can cause wobbling and make it vulnerable to easy knockouts. If it falls into that trap, it tends to get stuck and recovering becomes extremely difficult. Even so, its solid balance between defense and aggression makes it a standout Bey within its line.
04Ways to use it
This review covers the part Flare
At mid heights (60–70) with flat Bits. It works from the classic Rush to more aggressive options, depending on the Blader’s preference. That said, it clearly benefits from more controlled movement Bits to avoid self-KOs and gain better accuracy and spin time. For maximum mobility, a plastic Chip is recommended.
At mid heights with Bits like Kick, it can create surprise pushes, but it requires stronger launches. In this case, metal Chips can help reduce self-KOs, at the cost of stamina.
At mid heights with semi-aggressive movement Bits like Elevate, Level, or Jolt. This allows switching between defense and attack with good mobility. A plastic Chip helps keep its agility.
In heavy, low combos with stationary Bits, it can tilt to deflect strong hits, though it loses versatility. Here, a metal Chip can help reduce knockout risk and maximize defense.
With Bits like Point or Hexa, it can return hits using the rail, but this style is less reliable due to moments where it becomes completely stationary.
05Base combo
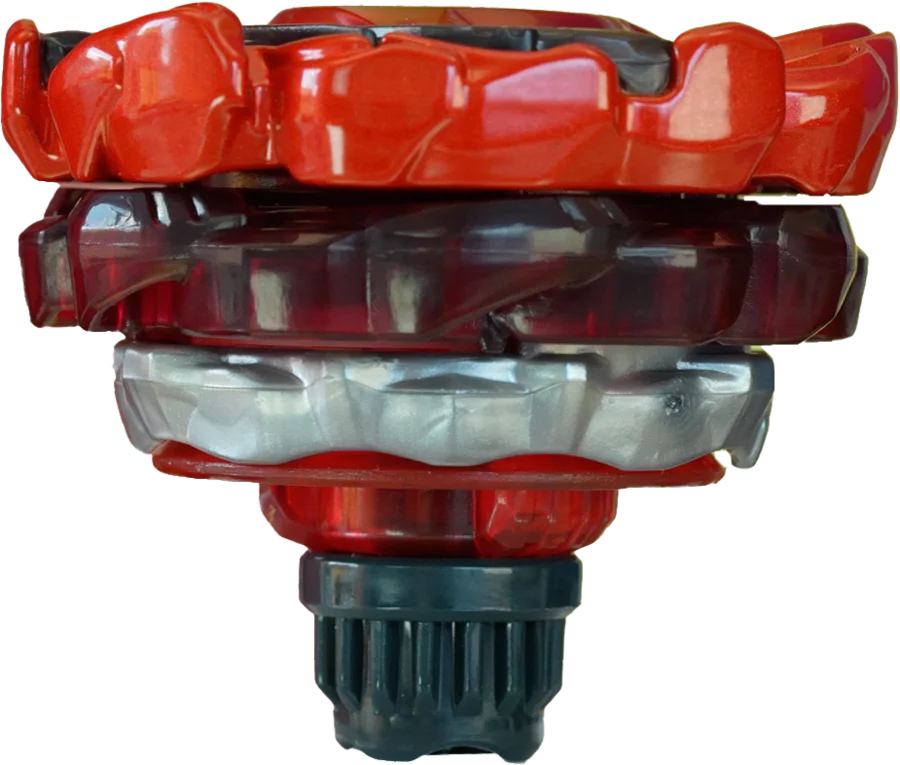
An extremely tall combo that completely neutralizes the Main Blade. Most impacts are taken by the Assist, and at that height its recoil increases knockout vulnerability. Worse still, WallWedge can’t handle the leverage force and bursts easily. On top of that, the wide gear causes unwanted Xtreme Dashes, making it prone to self-KOs or burning energy fast. Without exaggeration, this is one of the worst stock combos in all of Beyblade* X, unable to show the real potential of any of its parts.
06Combos
Consistent aggressive attack combo, with ideal height for lateral pushing and use of its upper slopes. Zillion* can also work for harder hits, but it’s riskier due to added recoil.
Versatile aggressive defense combo that, thanks to Jolt*’s maneuverability, can adapt to almost any situation.
Aggressive defense combo that unlocks its anti-equalization potential. This gives full versatility to use all its traits, but with a noticeable risk of bursting due to Elevate*’s thin shaft.
*Erratic attack with strong pushing power. It’s super fun, but risky and requires strong launches to force rebounds. You can go with a plastic Chip if you want more chaos.
*Pure defensive tank. Excellent against aggressive Beys, but quite limited versus other stationary setups.
*Counterattack combo that can be played either aggressively from the start or by waiting for the opponent’s hit. It’s not its strongest role, but it delivers solid results.
 Why does it work this way?
Blader's Path explains it step by step: Bey physics, how to build combos and how to test them.
See the book
07Where to get it
Show products 1
Takara Tomy 1
- CX-12 PhoenixFlare Z9-80WW