
00Wall Wedge summary
Wall Wedge is a 2.4 g defense Bit.
Wall Wedge delivers on what it promises, but with way too many risks. It is a mega situational option that even in the scenarios where it works best, uncertainty remains and makes it difficult to fully trust it.
01Description
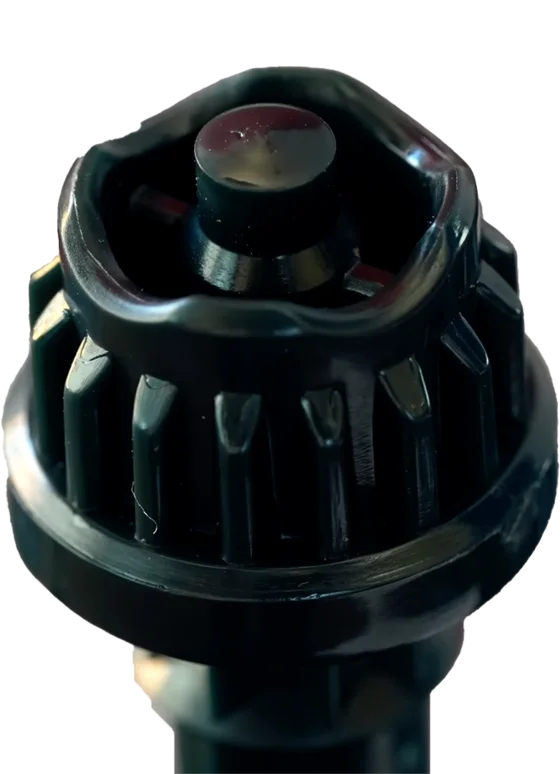
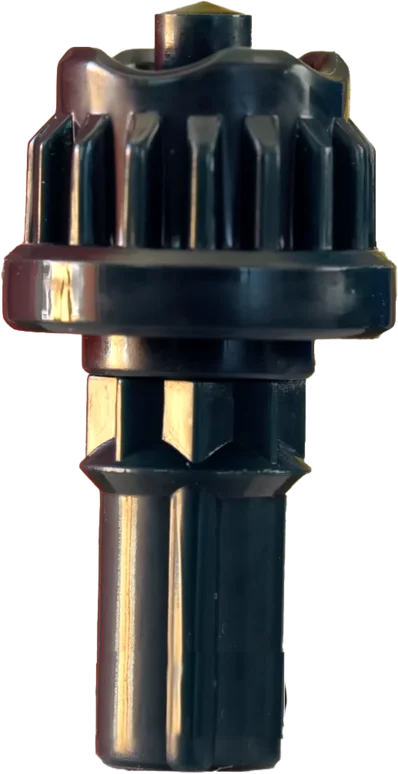
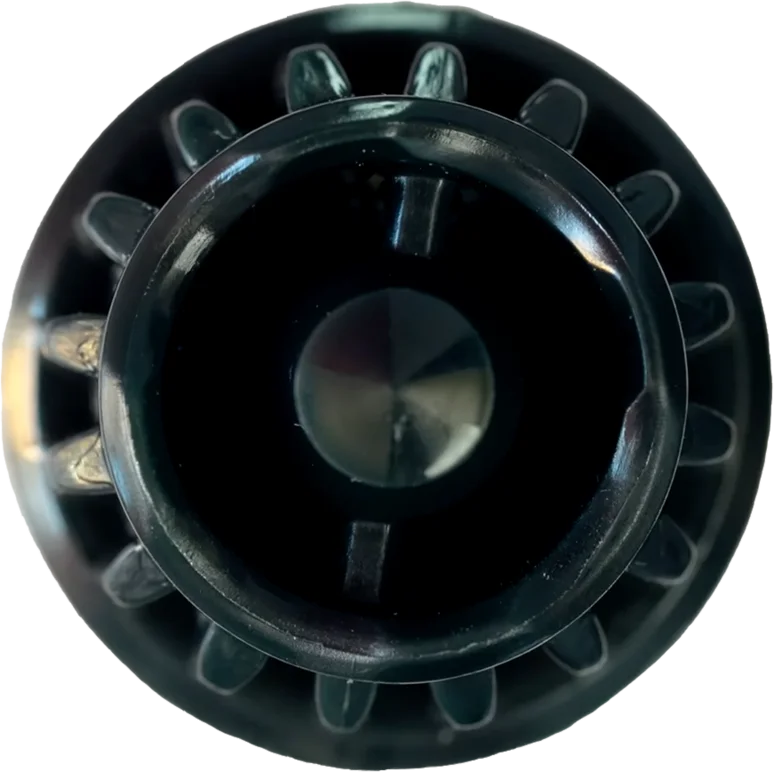
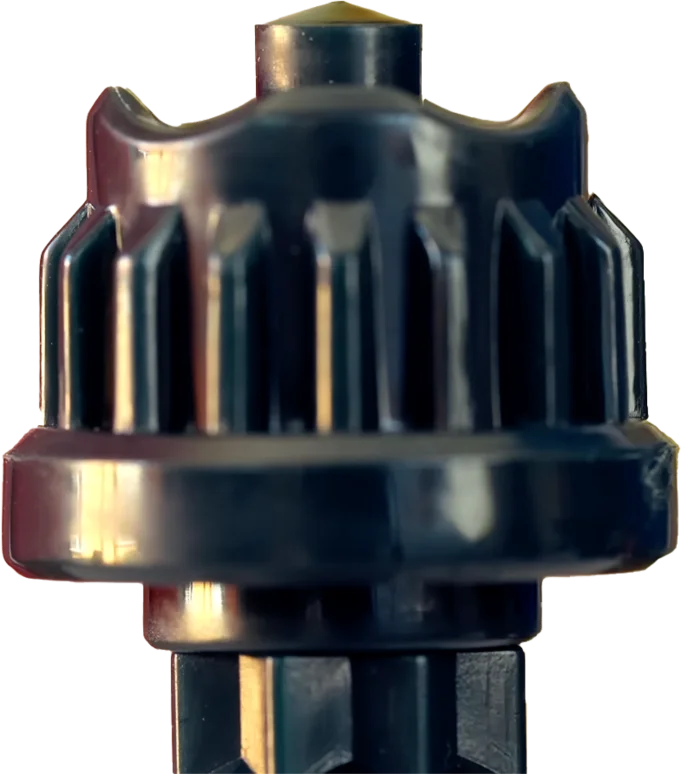
Wall Wedge is an extremely small sharp tip, identical to Wedge, but surrounded by a wavy barrier of four sections. It is slightly taller than average and uses a 16-tooth gear.
02General properties
Its operation is simple: when the barrier touches the ground it avoids tilts and keeps the Bey as upright as possible; furthermore, when receiving lateral impacts it scrapes the floor to slow down the movement and reduce the ease of being knocked out.
However, that same mechanism has a high cost. Each scrape consumes energy, so a continuous sequence of hits can completely drain its stamina, even against super aggressive rivals. Add to this that impacts from below lift it and completely bypass the barrier, which worsens considering it is taller than average and exposes the lower part of the Blade, making it easy to send it flying. But even if it manages to stay inside the stadium, it can land on the barrier, causing spin loss or unwanted bounces. Not forgetting that being a thin tube it has a high risk of bursting, especially if the barrier gets hooked on the rail.
Another latent risk is an unwanted Xtreme Dash that causes self-KOs or an accelerated energy drain with that giant gear. Although it doesn't happen frequently because the barrier usually prevents direct contact with the rail.
Additionally, staying upright in the center of the stadium from the start makes it super vulnerable to a direct hit into the pockets, since it loses the versatility of tilting to deflect attacks or move away from the center. Therefore, compared to options like Hexa, Under Needle, or Ball, it turns out to be riskier and inconsistent.
Even so, on wide Blades or those that are super hard to hit from below, many of these problems are reduced and it becomes an interesting defensive option. It also stands out on Beys that need to remain perfectly upright to work, like Mummy Curse. Conversely, very light Beys or those with a high center of gravity don't benefit at all from being easy to push and burst.
Compared to Wall Ball, Wall Wedge tilts less thanks to the edge's angle so it doesn't always require the barrier and this helps it conserve its energy better. At the start of the battle, it tends to stay much stiller in the center, so it is easy prey when starting. It is much easier to push since its contact area is so small, but it takes much longer to return to the center, which makes it fabulous at breaking the rhythm of the rival's attacks, of course, if they don't launch it out on the first hit. Wall Ball, for its part, evades better at the start and is harder to move, but loses energy faster by depending more on the barrier due to its greater tendency to tilt. Consequently, Wall Ball is safer at the beginning of the battle, while Wall Wedge can turn out to be more efficient in the long run if it manages to stay inside the stadium.
It is curious that it is completely opposite to the normal Wedge, since the original seeks to be shot out to bounce immediately against the rival, while Wall Wedge tries to slow down the movement and move away after the impact.
 Why does it work this way?
Blader's Path explains it step by step: Bey physics, how to build combos and how to test them.
See the book
03Where to get it
Show products 1
Takara Tomy 1
- CX-12 PhoenixFlare Z9-80WW