

ShelterDrake
00ShelterDrake summary
ShelterDrake is a 32.6 g BX Blade, released in Japan on February 15, 2025.
ShelterDrake is a Blade that’s extremely sensitive to height. Raise it even a little and it becomes a mess, but place it at the exact sweet spot and it turns into a real nightmare, capable of destabilizing opponents that massively outclass it in weight, achieving surprisingly consistent results.
Unlike Impact, which focuses on direct damage, Shelter uses the opponent’s strength against them. Ironically, both share the same weaknesses: they lose stamina quickly, recoil ramps up every second, especially at higher heights, and they rely heavily on landing early hits to improve their win chances.
This makes both Drakes demanding, risky, and dangerously fun to use, which fits perfectly with the bond the anime establishes between them. So don’t underestimate it, neither when using it nor when facing it. ShelterDrake is far more dangerous than it looks for a Blade of its caliber.
01Mythology
Although the name comes from the lesser dragons known as “Drakes,” in the anime it’s represented as a Dragon Turtle, also called “Lónggui,” which combines two celestial beasts (Seiryu and Genbu). It’s commonly used in Feng Shui as an ornament symbolizing good luck and longevity.
02Description
ShelterDrake is, in theory, a tribute to a Bey from the original series, widely assumed to reference Daichi’s Strata Dragoon, a more grounded dragon compared to Tyson’s.
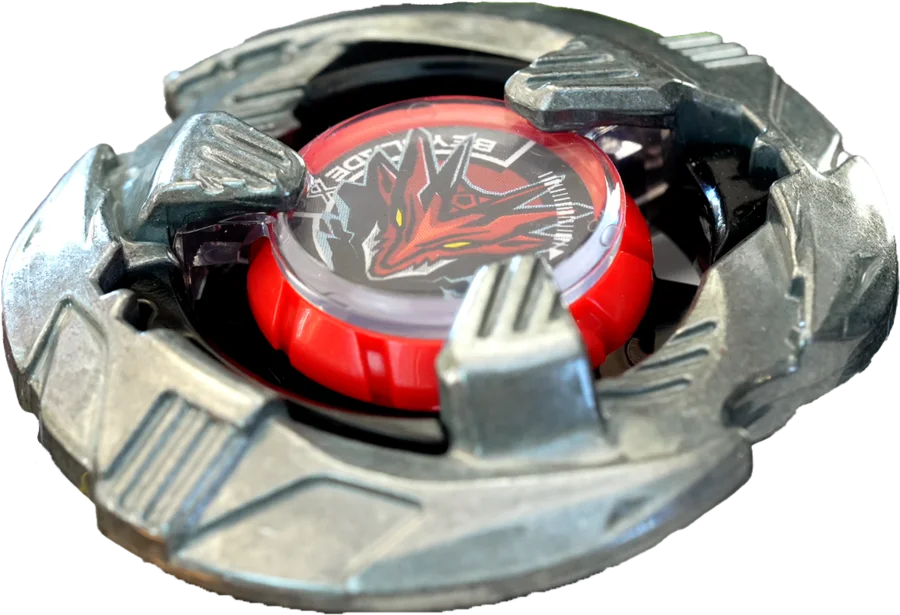
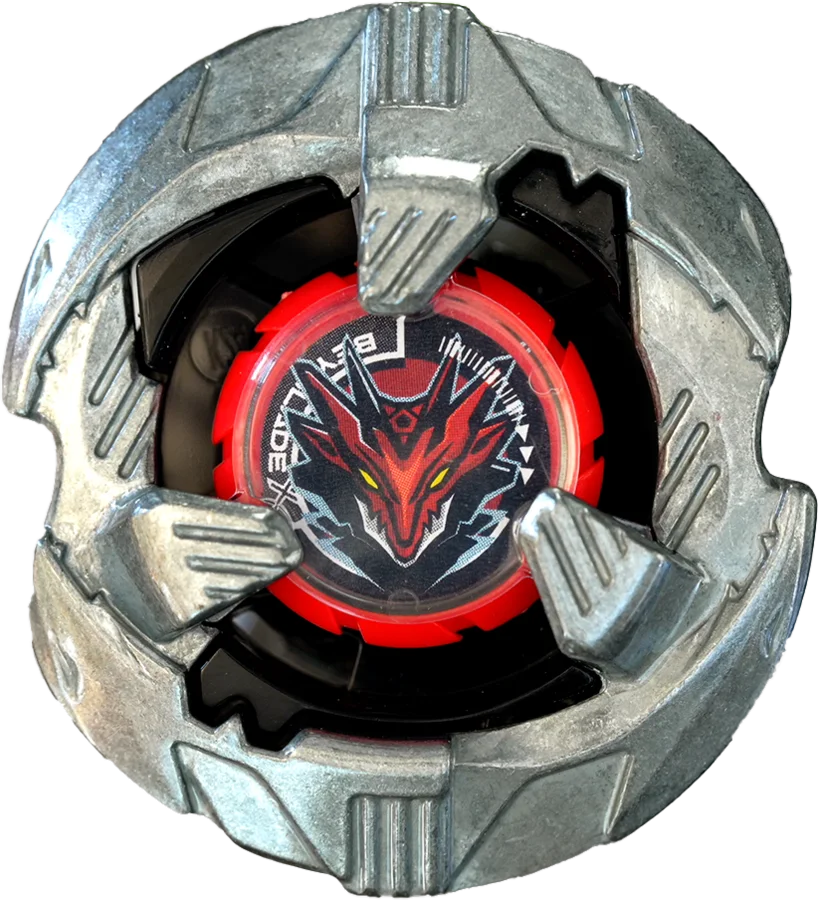
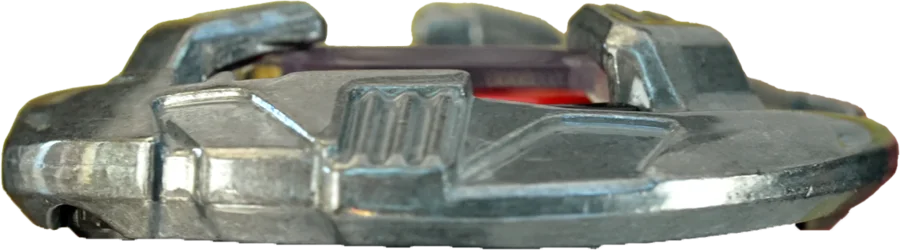
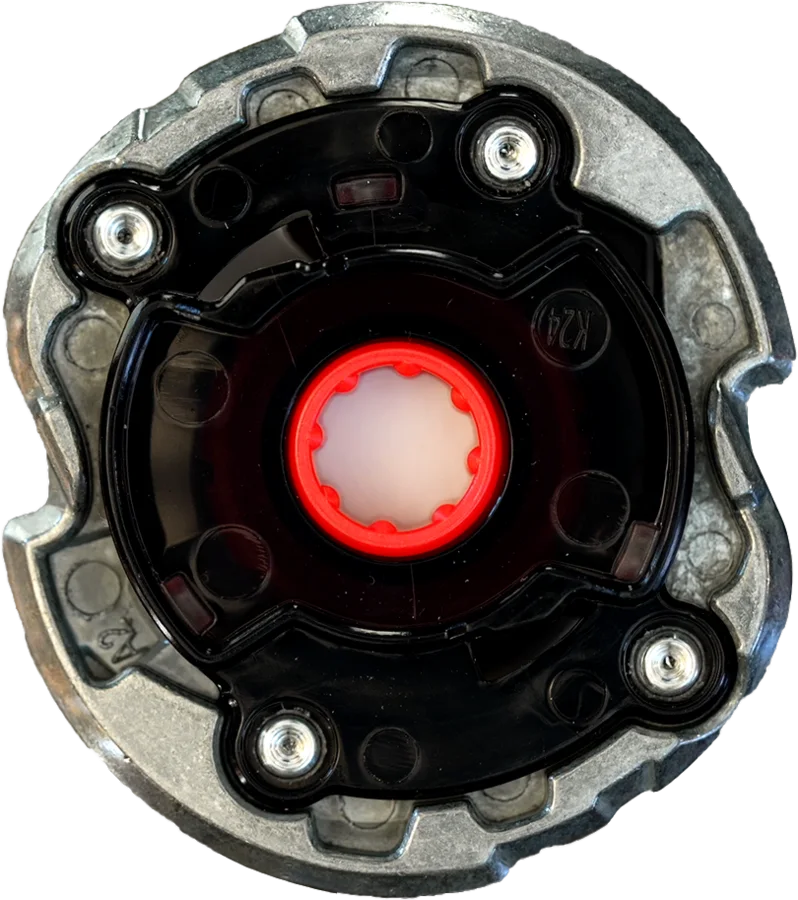
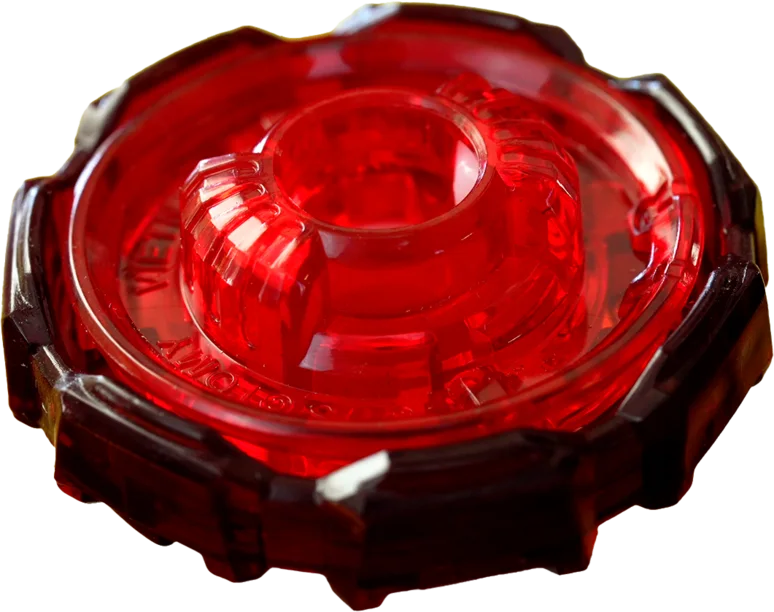
It’s a light Blade, extremely thin, with an oval and concave shape. It’s split into two main divisions that form a very pronounced hook between them, and on the top it features subtle ridges that create the stylized head of the dragon.
03Performance
ShelterDrake serves a very specific role: acting as a destabilizing ramp. Its wide, oval, and ultra-thin shape lets it easily slip underneath the opponent’s Blade.
Against aggressive Beys, this causes them to deflect using their own power, altering their trajectory, going wild, and frequently self-KO’ing. Basically, it turns them erratic, letting ShelterDrake defend surprisingly well against them.
Against more stationary opponents, it can lift and destabilize them. Combined with the constant wear from its ridges during sustained contact, it can drain a huge amount of energy. On top of that, its hooks have a solid chance of reaching Ratchets, making explosive finishes fairly common. Because of this, it can give even top-tier stamina Beys serious trouble.
To maximize this effect, it’s essential to use it in low or mid-low combos and launch it very tilted, so it stays at the perfect angle to function literally like a ramp.
The issue is that ShelterDrake tends to recover its upright posture pretty quickly, making it hard to keep that ideal angle throughout the battle. This makes the opening hits crucial, when it still has higher spin speed and retains the optimal tilt. Once it fully stands up, its destabilizing power drops sharply.
Its biggest weakness appears when the hooks make direct contact with the opponent’s metal. This creates massive recoil that it simply can’t handle due to its low weight. That’s why being upright or running higher heights doesn’t help it at all.
On top of that, it loses movement speed quickly and has slightly below-average stamina. Every second that passes without landing an impact reduces its effectiveness fast, since it not only slows down but also becomes more vulnerable as it loses tilt.
Interestingly, it’s not an easy Blade to fully knock out of the stadium. While its light weight makes it prone to lateral pushes, its oval shape causes it to rebound often in the stadium pockets. These rebounds cost a lot of energy, but it usually re-enters the fight, often only losing one point by stamina instead of two or three. This gives it more chances to look for decisive finishes.
Because of this, despite being light, it can become a surprisingly tough opponent even for highly competitive Beys, both heavy stamina types and aggressive ones. This gives it an uncommon level of versatility for its weight class.
In general, it’s recommended to improve its stability to slightly reduce recoil. Launch it at max speed and heavily tilted in low combos to directly receive the opponent’s impact, or use mobile tips to hunt opponents near the edges and force early knockouts.
04Ways to use it
By over-tilting it, it deflects hits very effectively and lifts the opponent like a ramp. Its upper ridges cause rapid wear, especially in low, stable combos with strong ground support.
On semi-aggressive or aggressive tips with good stamina, it can chase opponents, send them flying while they’re still at high power, reach Ratchets, and then evade to win by stamina.
On small, easy-to-move tips like Wedge or Orb, rebounds push it downward and then back upward, further boosting its lifting ability. It’s risky due to wear and burst potential, but incredibly effective and fun.
05Base combo
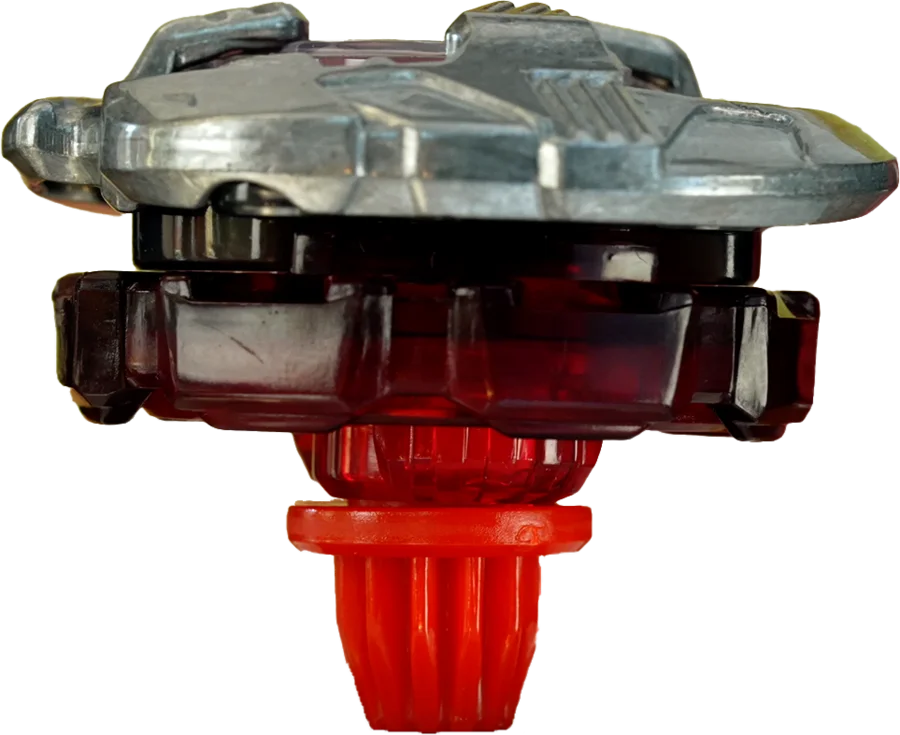
A combo that goes completely against its strengths. Gear Point restores its upright posture too quickly, and at this height it fully exposes the hooks, causing excessive recoil. It also sits too high to destabilize opponents, losing its best trait entirely.
06Combos
Attack combo with good stability thanks to 7 and the low height of Low Rush. Excellent control and spin time to hunt opponents and send them flying from the perfect height.
Stationary defense combo. Ideal for using the opponent’s force against them, launched very tilted to become a literal ramp.
Counter-defense combo with strong stability. Boosts impacts and lifts; when launched super tilted at max speed, it’s shockingly effective for its weight.
 Why does it work this way?
Blader's Path explains it step by step: Bey physics, how to build combos and how to test them.
See the book
07Where to get it
Show products 5
Takara Tomy 3
- BX-39 Random Booster ShelterDrake Select · ShelterDrake 7-80GP #01
- BX-39 Random Booster ShelterDrake Select · ShelterDrake 5-70O #02
- BX-39 Random Booster ShelterDrake Select · ShelterDrake 3-60D #03
Hasbro 2
- G1675 Shelter Drake 7-80GP
- G2732 Shelter Drake 5-70O