

GolemRock
00GolemRock summary
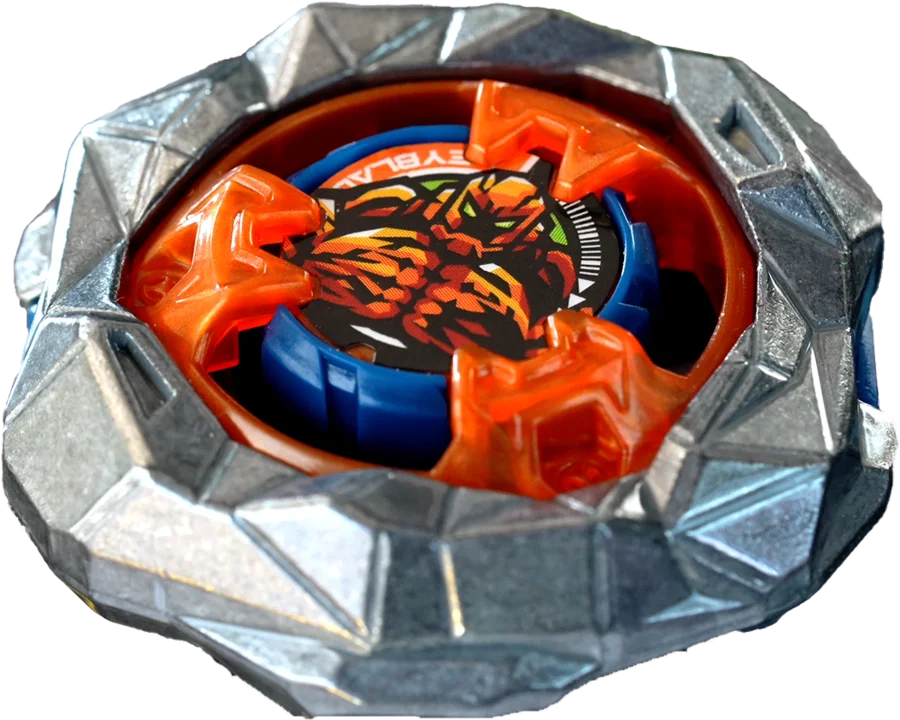
Rock Golem (GolemRock by Takara Tomy) is a 34 g UX Blade, released in Japan on January 25, 2025.
GolemRock is a true rock that guarantees chaos on impact, and even though its main focus is defense, it is surprisingly fun to use. Despite its low mid-weight and compact size, it competes comfortably against larger and heavier Blades. Honestly, it surprises me that it is not seen more often in competitive play, because it is genuinely strong and versatile. And for casual battles, it always delivers unexpected and hype moments.
01Mythology
Based on the golem, a creature made of stone or clay originating from Jewish culture. They were brought to life through sacred words to serve and protect their creator, but with the constant risk of losing control if their life was extended for too long.
02Description
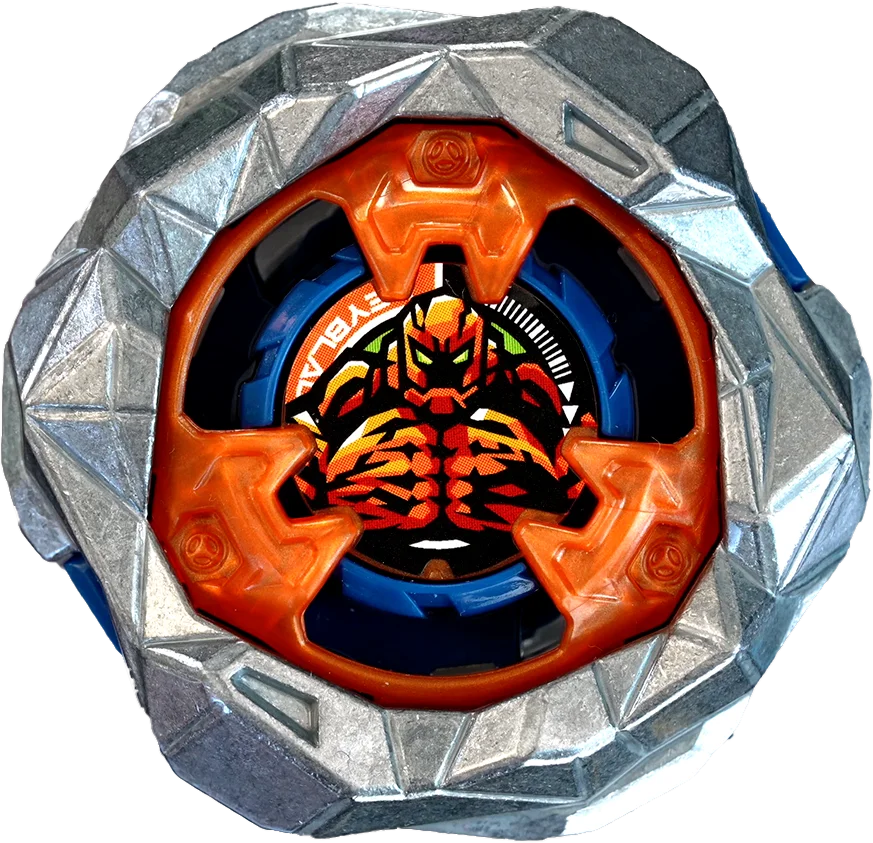
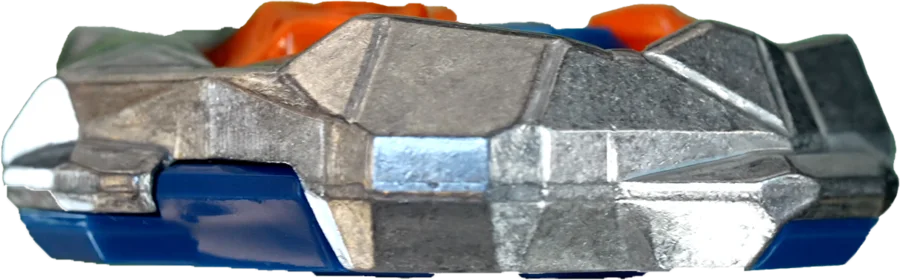
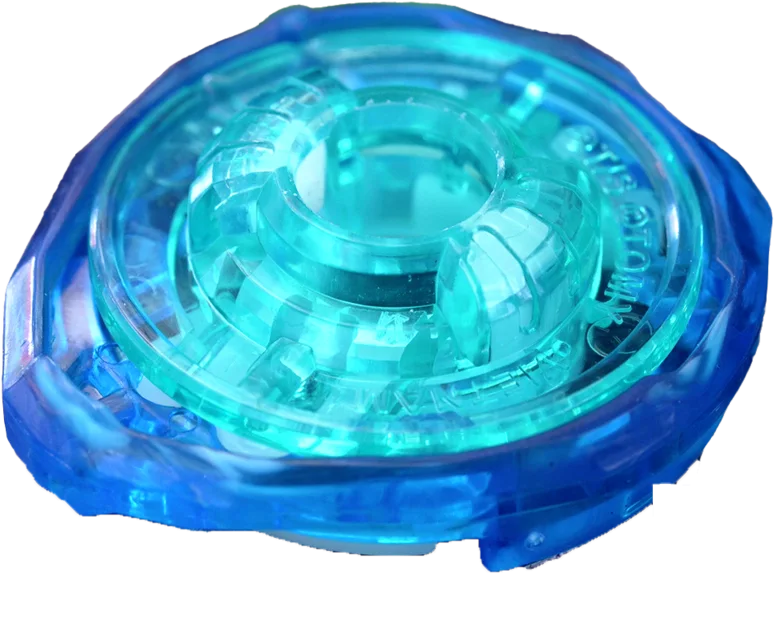
GolemRock features an extremely irregular shape meant to resemble a raw rock. It is divided into six clearly defined segments, with a rough and aggressive design that has very low aerodynamics. Two of these sections are especially wide (the ones with a rectangle engraved on the top), acting as the main contact points thanks to their high exposure. Behind them, on the lower side, there is an elongated and sharp protrusion that works as a secondary contact point, while the top forms super pronounced zig-zag shapes.
Despite being a low mid-weight Blade, its mass is perfectly compacted into a small diameter, preventing it from being at a disadvantage against heavier Blades.
03Performance
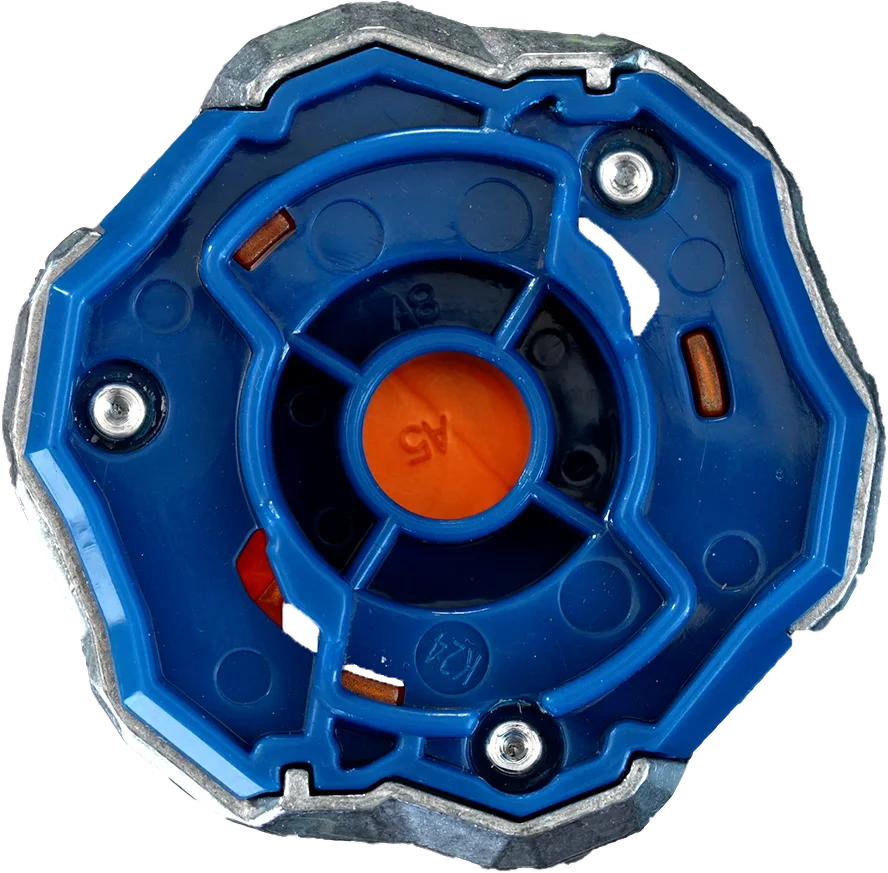
GolemRock is an incredibly solid defensive Blade. Its compact size makes it hard to push or knock out of the stadium, and as part of the UX line, it distributes its weight toward the outer edges, achieving good stamina despite its reduced diameter and allowing it to compensate for its own recoil. This lets it heavily counter any Bey that crashes into it, especially in low combos where it can strike cleanly with the upper side, the most aggressive part of the Blade. This comes from both the wide Smash Attack contact points and the upper irregularities that can lift and wear down opponents.
When well balanced and paired with Bits that offer solid ground support, it becomes a true mini tank, capable of countering hits from much heavier aggressive Blades, creating chaotic and unpredictable moments during battles. It is also useful on stationary Bits that are easy to push, since the rebound after taking a hit sends attacks back with a super effective pendulum effect. Any contact point on the Blade can deal serious damage.
Even against stationary Beys, its concave shape allows it to catch them from below, destabilizing them and draining stamina, especially if it keeps a slight constant pressure. This can dramatically reduce their spin time, leaving them on the edge and sometimes even outlasting higher stamina specialists. Because of this, semi-aggressive Bits with good stamina let it hunt opponents, forcing controlled impacts and increasing the chances of critical hits or steady wear.
On the other hand, pure attack is not its strong suit. It lacks the weight to push consistently and tends to lose control easily, increasing the risk of self knock-outs. The same applies to more chaotic Bits like Kick. That is why stationary and semi-aggressive styles are where it truly shines, becoming a strong and versatile competitive contender.
Its biggest weakness is its tendency to over-tilt, which can cause the Ratchet to scrape the floor and seriously hurt stamina if not managed well. This is especially dangerous when taking heavy hits from taller and super heavy Beys that can press it downward.
04Ways to use it
In low combos that allow over-tilting, it can reflect attacks and deal big damage, especially against aggressive Beys. It can also challenge stationary ones by wearing them down or landing surprise pushes. Counter Defense: On small stationary Bits like Orb or Wedge, it aims to bounce after impact and come back with more force. Ratchets that help rebound from pockets reduce the risk of self KOs. Smash Attack + Barrage Attack: In semi-aggressive combos it can attack constantly, fishing for critical hits or steady damage. It works best at mid-low heights. Tank: With Bits that have strong ground support like Under Needle or Hexa, launching at full power in the center fully unlocks its defensive traits, letting it return hits with force and use Xtreme Dash for counterattacks.
05Base combo
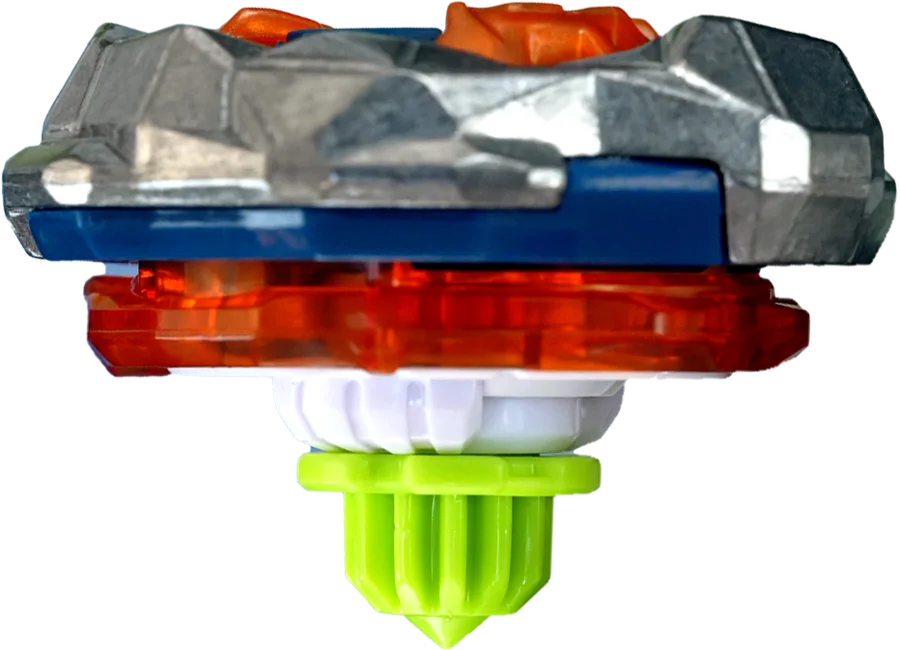
An excellent tank combo. It stays centered at an ideal height to counter impacts. It can be a bit risky due to Ratchet 1 and possible floor scraping, but its defensive power is outstanding. You can slightly unbalance it for a more counter-defense focus or perfectly balance it to maximize stamina. On top of that, 1-60 and Under Needle are super valuable parts, making this a great pickup for any Blader’s arsenal.
06Combos
Allows you to hunt the opponent with good stamina and an upright posture to strike with the upper side. It also performs well against left spin, though with some risk of knock-outs.
A semi-aggressive combo that exploits its Smash Attack while chasing the opponent. Ratchet 1 helps it return to the stadium and keeps hits consistent with decent stamina.
A safer version of the stock combo. It reduces floor scraping risk and further boosts its defensive qualities.
A super stable tank combo. It allows full-power launches, returns impacts with force, and can counterattack through Xtreme Dash. The thin Ratchet syncs well with the shape and lowers scraping risk.
A really fun counter-defense combo. After a heavy hit it can get launched, bounce, and come back dealing big damage. Even against stationary setups, it can destabilize if it manages to hit from below.
 Why does it work this way?
Blader's Path explains it step by step: Bey physics, how to build combos and how to test them.
See the book
07Where to get it
Show products 4
Takara Tomy 2
- CX-11 EmperorMight Deck Set · GolemRock M-85HN Metal Coat: Green
- UX-13 GolemRock 1-60UN
Hasbro 2
- G1646 Rock Golem 1-60UN
- G3028 X-treme Battlers Pack · Rock Golem M-85HN