

MummyCurse

00MummyCurse summary
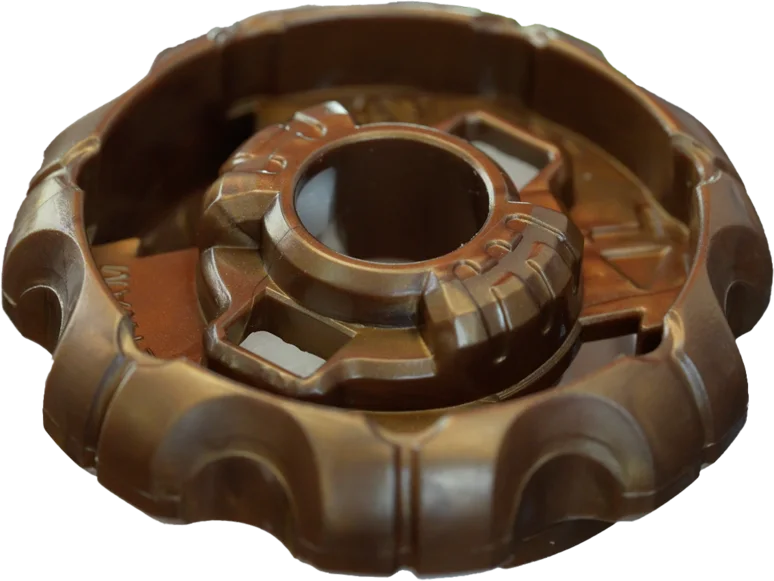
Curse Mummy (MummyCurse by Takara Tomy) is a 37.2 g UX Blade, released in Japan on December 27, 2025.
MummyCurse is a very peculiar Blade. Its connection to the mummy theme isn’t as obvious as in other designs, and its mechanism is both its biggest distinction and its biggest flaw.
Honestly, it’s impressive that with such a mechanic it still manages to get solid results in its niche, since in past generations, exposed plastics like this almost always crippled a Beyblade’s potential.
MummyCurse might be too risky for some tastes, but it’s definitely not something to underestimate. At any moment it can open its tomb and leave you in its place—or maybe not. That’s the charm. You never really know when it’ll give you a good scare, both for the one using it and the one facing it.
01Mythology
It’s based on an Egyptian mummy and sacred scarabs, symbols of resurrection and eternal life in Ancient Egypt, which were traditionally placed on the chest of the deceased during mummification.
02Description
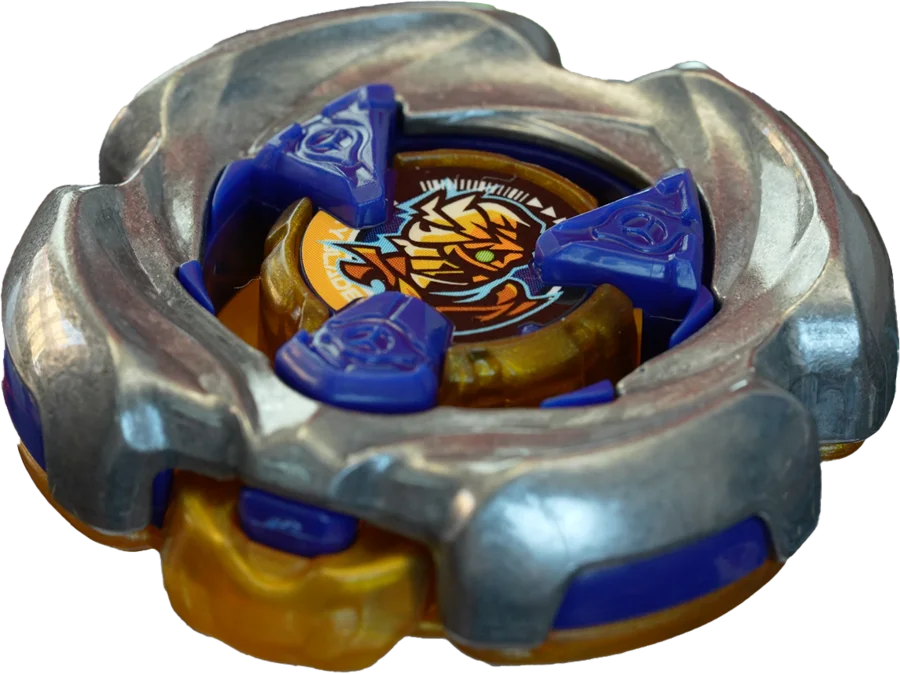
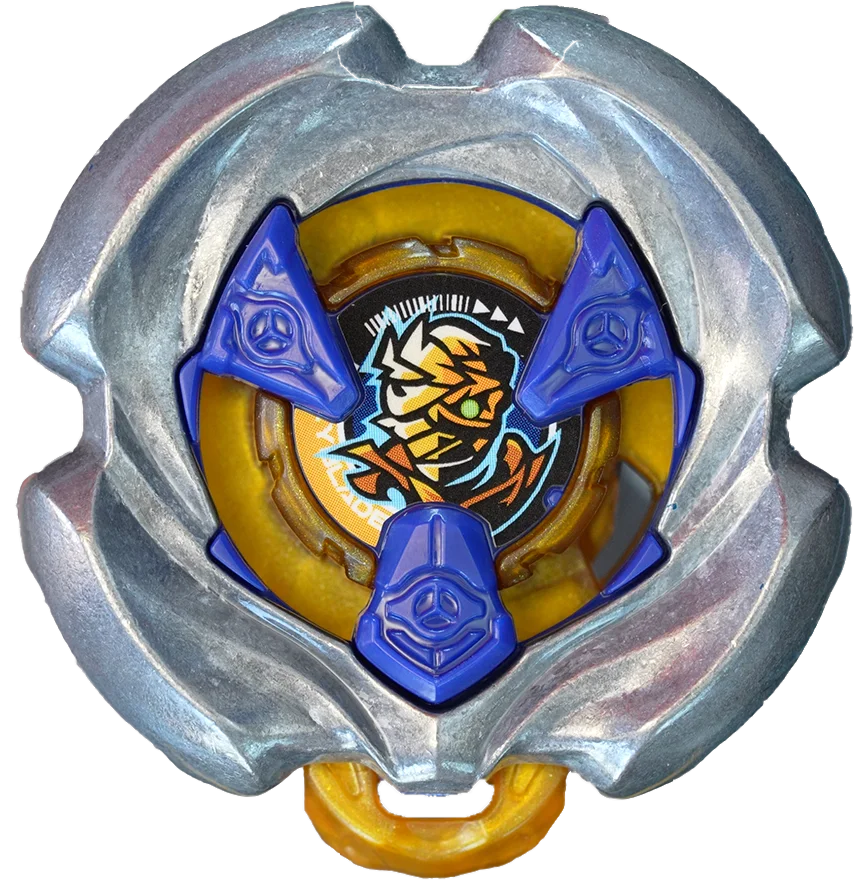
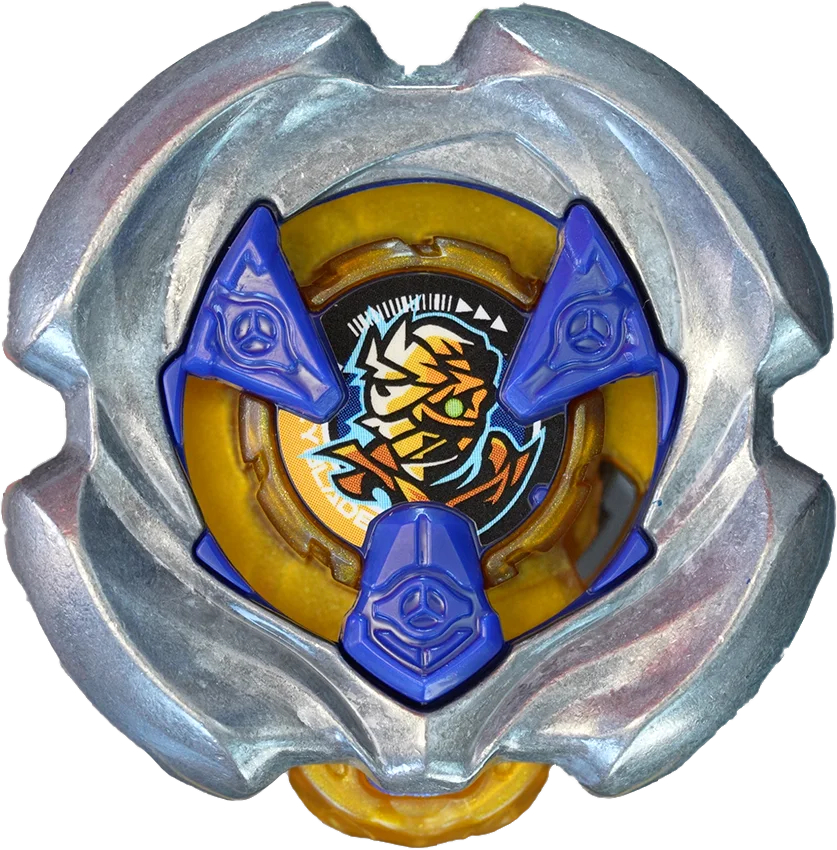
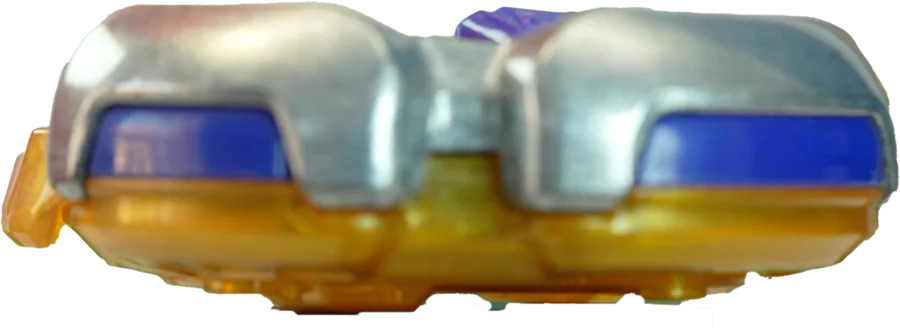
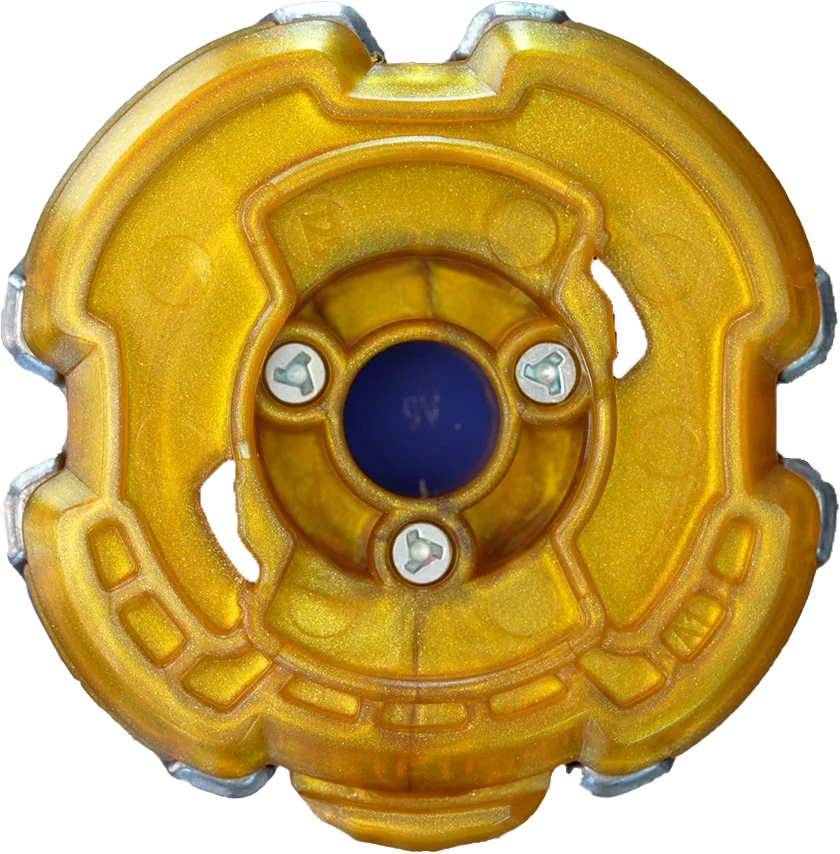
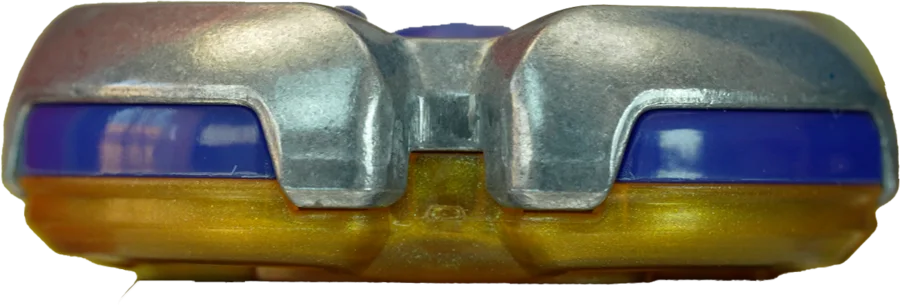
MummyCurse is divided into four wide metal segments that together form the silhouette of an Egyptian scarab. Its overall outline is extremely smooth and rounded, but between each segment there are large gaps that begin with a very sharp metal edge, creating a constant contrast between defense and offensive potential.
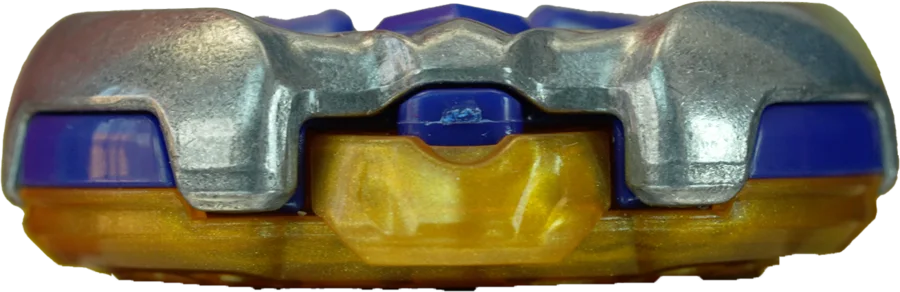
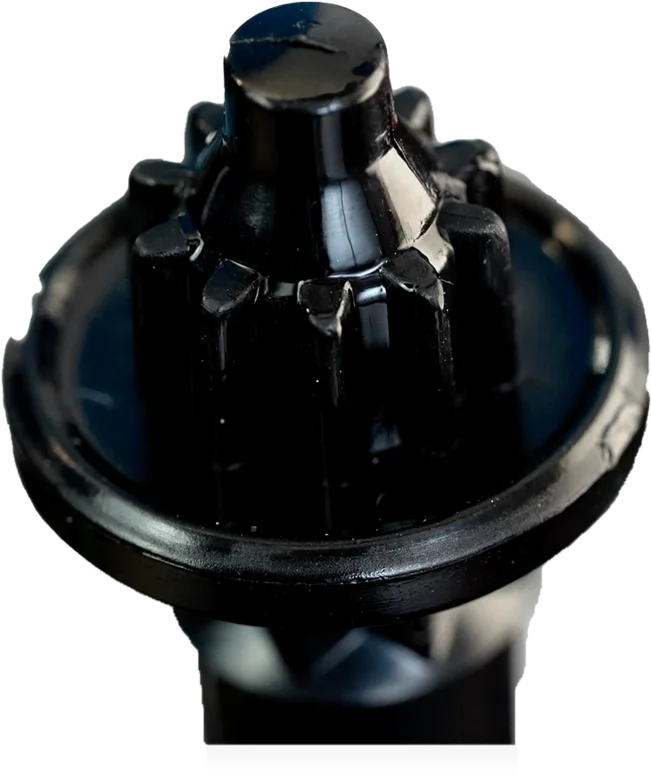
What would be the scarab’s head features a plastic “trigger” that expands at the start of battle thanks to centrifugal force, sticking out noticeably from the perimeter, and later retracts once inertia is no longer enough to overcome the spring.
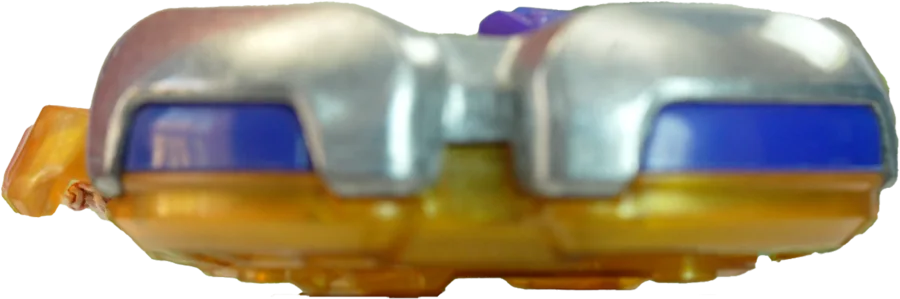
The Blade places a large portion of its metal toward the top and, due to its internal mechanism, it’s taller than average, which significantly raises its center of gravity.
03Performance
The most important thing to understand is that MummyCurse is extremely sensitive to balance and height. Its center of gravity is high—much higher than a typical UX/BX—making it naturally easier to lift and push.
At the start of battle, centrifugal force expands the “trigger,” shifting it into its “Counter Form1”. Since it sticks out a lot, it alters its center of gravity and causes erratic movement that speeds up stamina loss. However, when this plastic part gets hit, it tends to retract and re-expand almost instantly, creating a jabbing effect. In stationary battles, these can work like Barrage Attacks, draining the opponent’s energy. If it has more momentum, they can also bounce the opponent away like a spring, throwing them off balance and making them lose course, especially against other aggressive Beys.
As it loses energy, the spring can no longer keep the trigger extended and it shifts into its “Guardian Form2”, recovering a much more stable posture. Here it loses the extra rebound and chip-damage effect, but gains defensive solidity and can stretch the battle a bit longer.
That said, it’s important to note that its contact points change a lot depending on its final height. At the top, the metal edges are much sharper and the trigger isn’t involved. In the middle, it’s at its smoothest, both due to the metal and the upper part of the trigger making partial contact. At the bottom, the lower edges are exposed and the trigger makes full contact.
At very low heights (50–55), the metal edges are fully exposed. They can deal serious damage, especially against irregular Blades that get caught between the segments, but recoil is so high that it burns too much energy. This makes the height dangerous for defense, though interesting if you want to explore its aggressive side, which can surprise despite it being quite inconsistent.
At mid heights (60–70), its most balanced behavior shows. The rounded section dominates, deflecting hits more efficiently, occasional rebounds appear that take advantage of the segment edges, and the trigger hits with its softest zone, which is the most effective for a Barrage-style. This range is the most consistent and where all its traits blend together best without any one becoming a drawback.
At high heights (80), the lower edges are exposed. These are slightly smoother and have a mild angle that lets it crush with its heavy weight. The trigger is also fully exposed, increasing wear and rebound effects.
The downside is that at this height it becomes very vulnerable to knock-outs, which is risky considering how easily it can get caught in stadium pockets, especially if the trigger stays extended.
Because of this, MummyCurse is one of the few Blades that truly benefits from height 80. When combined with Low or Under Bits, you can achieve very different effects and adapt its height depending on the matchup.
Its biggest issue is that the initial imbalance can decide the whole match. Constant hits on the trigger and its resistance to retracting make the level of instability highly variable: in some battles it barely shows, while in others it becomes extremely erratic. This means that when it enters Guardian Form, it doesn’t always have enough energy left to last until the end. Add the natural recoil from its edges, and there’s always a real risk that a clean hit between segments ends the battle instantly… for either player.
That’s why managing its stability is crucial. You can compensate with the Ratchet to improve stamina and reduce erratic behavior, or exaggerate it to chase chaotic hits at the cost of spin time. Both approaches are viable depending on the style you want.
There are three clear disadvantages to highlight:
- > Round, high-stamina Beyblades that it can’t wear down enough or push effectively.
- > Left-spin Beyblades, which are harder for it to push and equalize against.
- > Low-attack Beyblades that can lift it and knock it out more easily.
Its stamina-wearing potential, however, is really interesting. It’s surprisingly close to being enough to take down even benchmarks like WizardRod or ClockMirage, but the early energy loss caused by its own mechanism keeps it from pulling this off consistently. If future parts appear that better mitigate imbalance or boost stamina, it could become a truly dangerous Beyblade, since combining Defense, Counterattack, and Barrage this effectively is rare—especially in this generation. For now, though, that potential stays in the “what if” category.
In short, its roundness and weight make it great at absorbing hits, while its divisions allow meaningful counterattacks. Combined with the trigger’s spring effect, it achieves an uncommon mix of defense and aggression that works especially well against aggressive and irregular Beyblades. It can hunt them down, dodge them, or wait for their hits and send them back hard—always with a level of unpredictability that defines its style.
04Ways to use it
On small Bits, launched with high power so the opponent crashes into it and, if they get airborne, rebounds back into its weight-driven counter.
On counter Bits, using the rail to land heavy hits and then return to the center to defend.
At mid heights with erratic or aggressive Bits. The goal is to land intense early hits so that once it switches to Guardian mode, it can focus on defending and surviving on stamina if it didn’t score a knock-out.
Smash Attack: At very low heights with aggressive or erratic Bits. Here you aim to fully exploit the aggressive traits of its upper section. Personally, I don’t think it’s the best fit, but it’s worth keeping in mind as an option to test.
On high-traction, stationary Bits, set to height 60. Launch with maximum power and good balance to defend, reflect hits, and, with some luck, wear down stationary opponents.
05Base combo
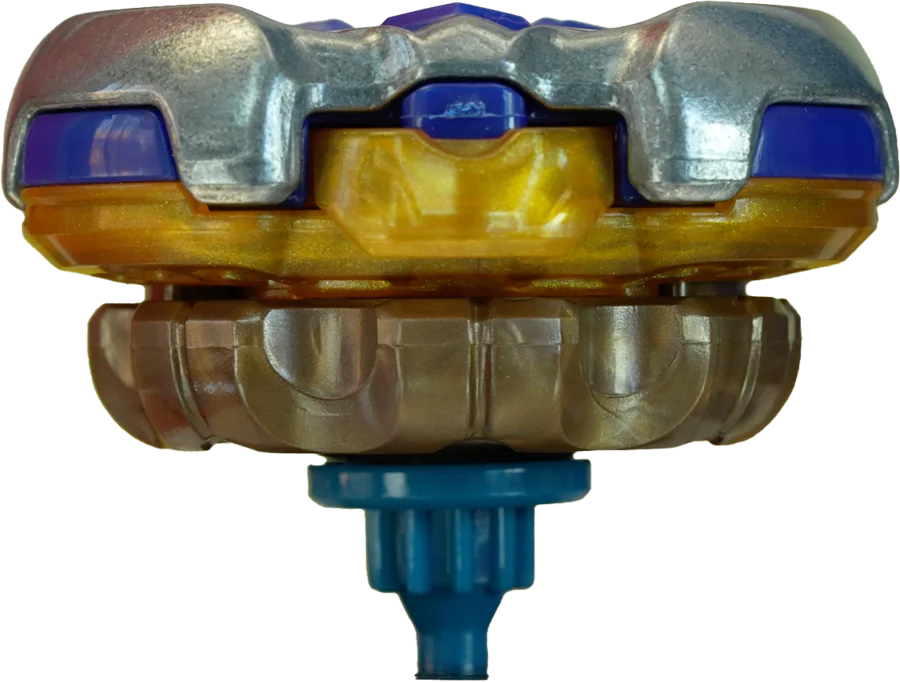
While the Ratchet and Bit are good on their own, here it sits too low and recoil is pretty high. It can bounce and counter hits that might, with luck, send the opponent flying, but the risk of losing a lot of energy or getting launched by recoil is also high. This height suits aggressive attack, while Wedge performs better when higher to mitigate recoil, so in a way they work against each other.
06Combos
Very effective tank combo against aggressive Beys. Can occasionally compete with stationary types if the balance is perfect.
Erratic attack that uses constant rebounds to maximize push.
Adaptable counter-defense: can be played erratic or more stable depending on balance.
Counterattack with greater traction. Allows you switch between evasion, waiting, and pushing based on the launch.
 Why does it work this way?
Blader's Path explains it step by step: Bey physics, how to build combos and how to test them.
See the book
07Where to get it
Show products 3
Takara Tomy 2
- UX-18 Random Booster Vol. 8 · MummyCurse 7-55W #01
- UX-18 Random Booster Vol. 8 · MummyCurse 4-60C #02
Hasbro 1
- G2734 Curse Mummy 7-55W